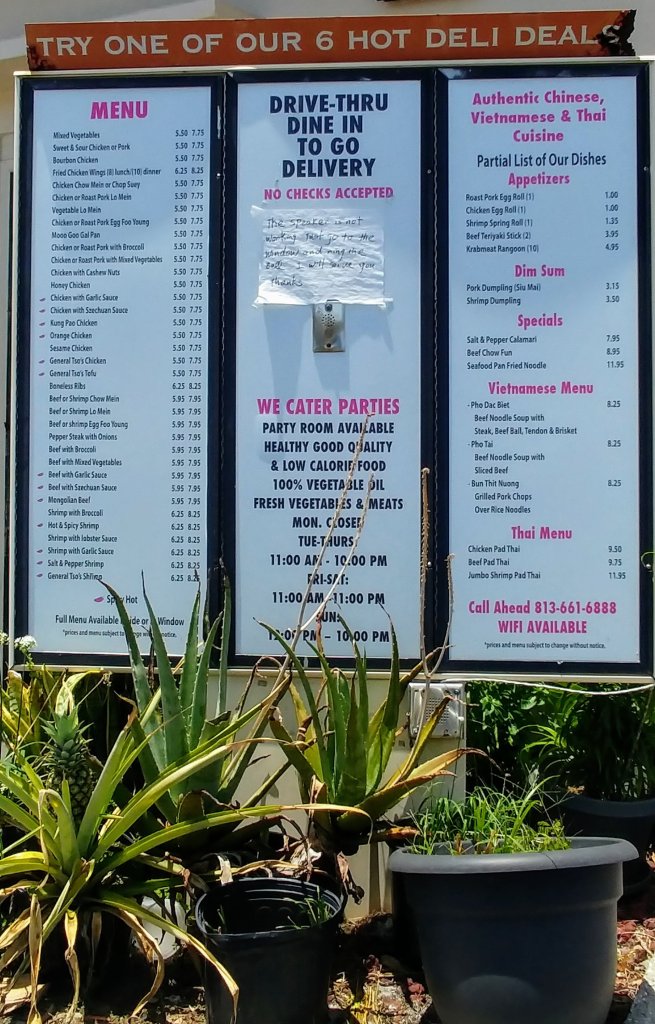
Lee House in Brandon, never disappoints and I happily recommend it to anyone looking for a good quality, best value, (pre-Covid) sit down/ take out Chinese restaurant.
Drive thru pick up window at Lee House, Brandon.
Right now they’ve eliminated sit down dining service but they have a super convenient drive thru that’s great for picking up your call ahead orders. They also have delivery in the local area, I would call them to check if your neighborhood is deliverable.
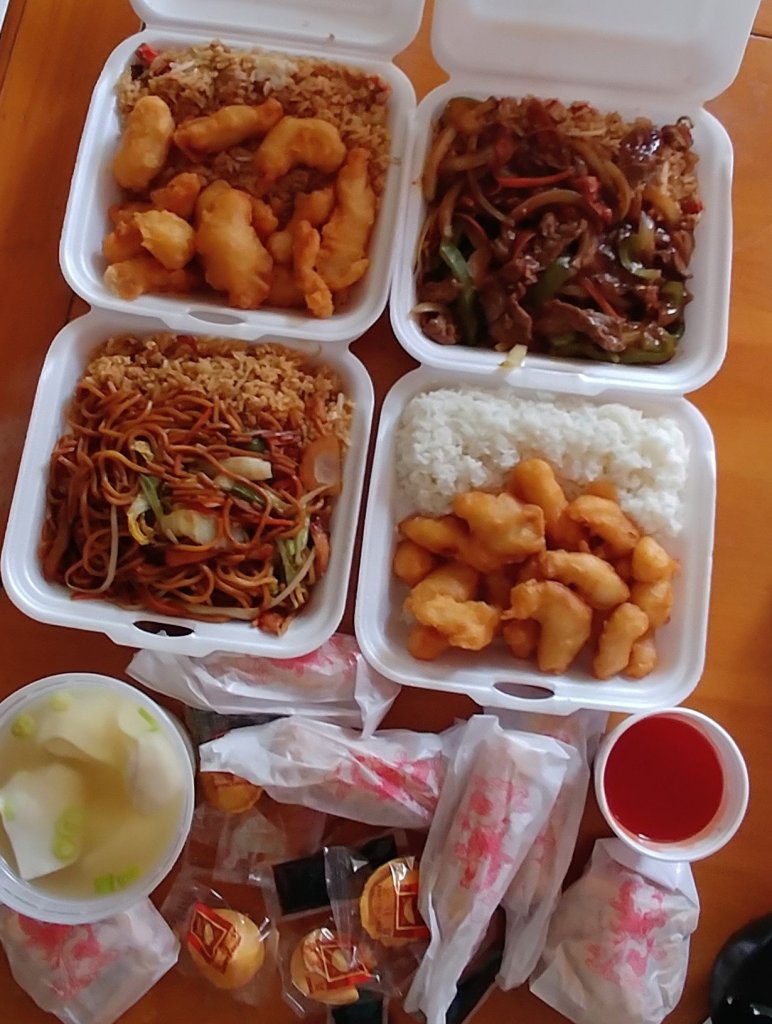
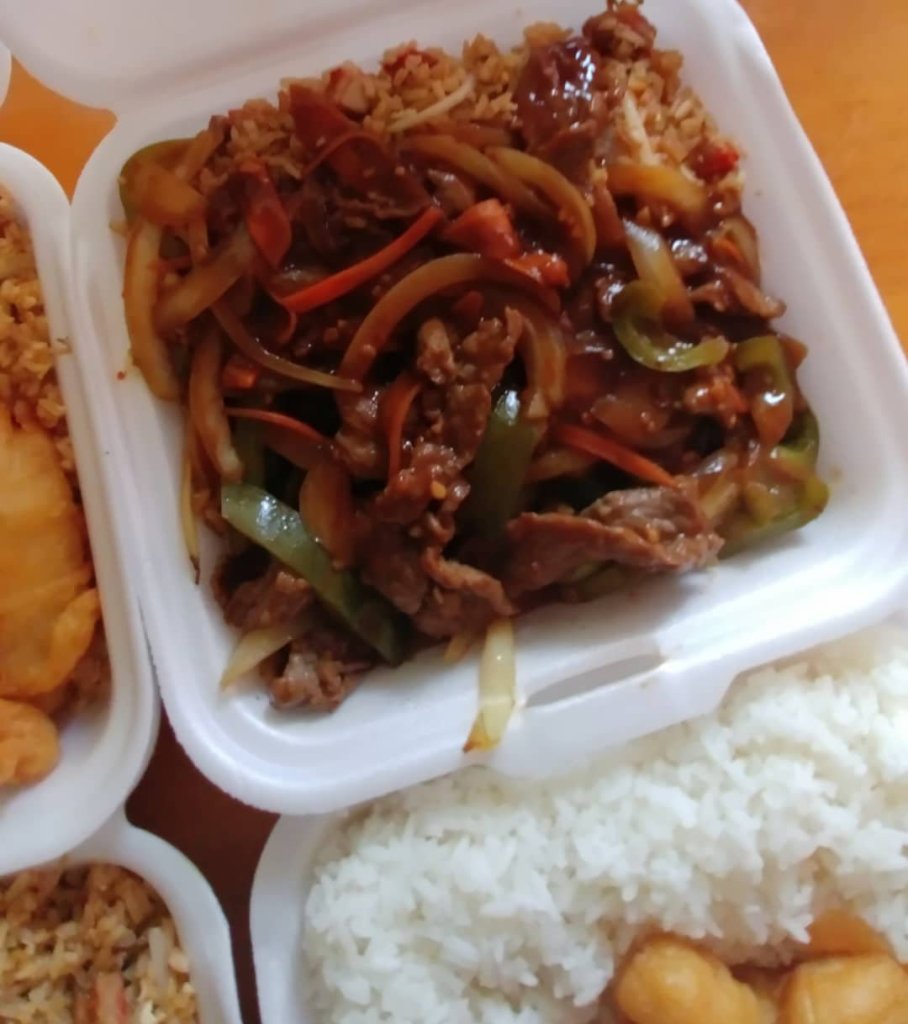
My family and I have tried several appetizers, entrees and combination meals and have thoroughly enjoyed everything. Lee House is consistent with quality and flavor. Today, I tried their Mongolian Beef for the first time and it knocked my socks off! Partly because it exceeded my expectations on flavor and the heat level 🔥 All around delicous! My husband and youngest son got their favorite, Sweet & Sour Chicken. And hubby and I shared the lo mein. There are plenty of leftovers to graze on later and for tomorrows lunch!
Mongolian Beef with Roast Pork Fried Rice.
Our usual, go to, favorites are the sweet & sour chicken, the roast pork lo mein and chicken & broccoli (not pictured) with pork fried rice, white rice, egg rolls and wonton soup.
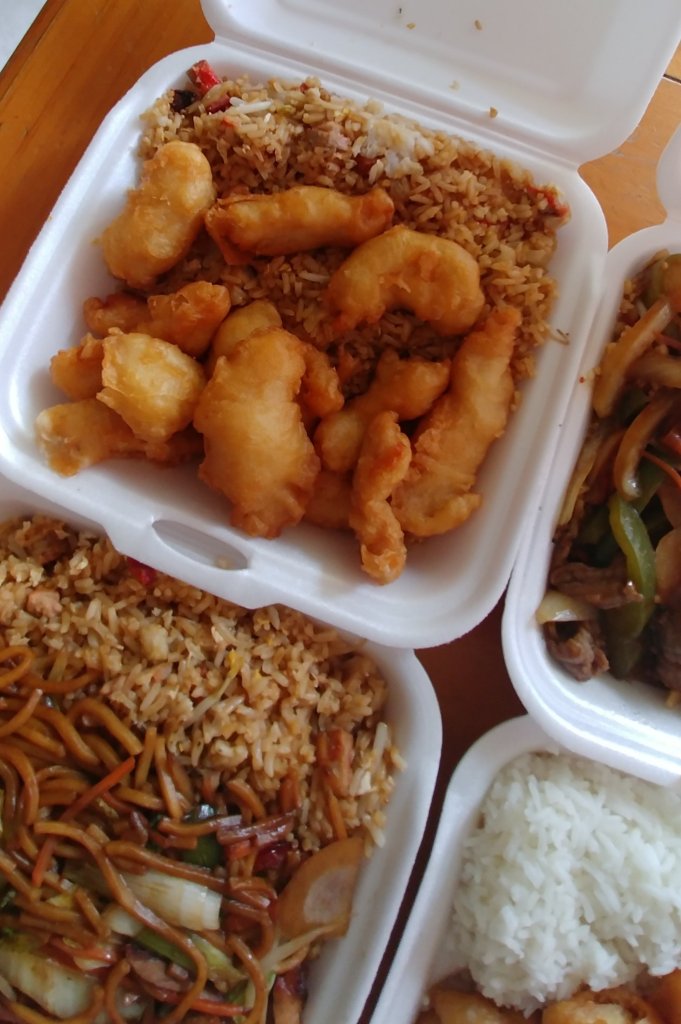
Roast Pork Lo Mein with Roast Pork Fried Rice.
Every once in a while I’ll add crispy fried wontons to my order, their so flavorful! And come with a sweet and sour dipping sauce.
Sweet & Sour Chicken with Roast Pork Fried Rice.
I’ve recommended Lee House numerous times to friends as well as to locals on one of my Facebook restaurant groups and everytime I speak or type the words LEE HOUSE, I immediately crave it!
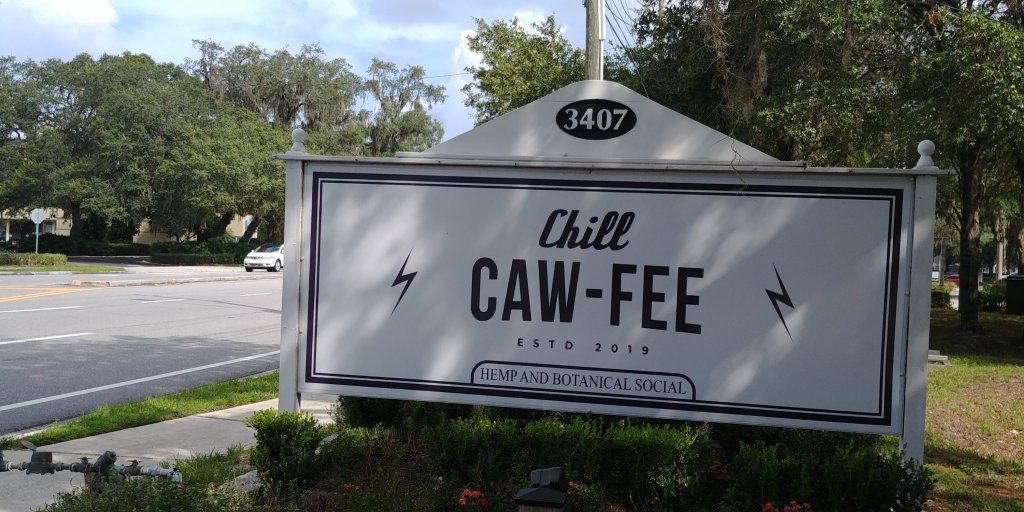
Excited that I finally got to try this new locally owned coffee shop in Valrico!! So close to Fishhawk, Bloomingdale and a short ride down Lithia-Pinecrest from anywhere in Brandon.
I had heard rave reviews on a local Brandon restaurant Facebook group about Chill Cawfee. And it’s kind in my back yard, so I knew I’d be making a pitstop there Saturday morning. I was very impressed with how easy it was to get to for my part of Valrico…. located in the shopping center on Bloomingdale and Lithia Pinecrest where Publix and Walgreens is.
There’s plenty of parking and when you walk into the beautifully clean coffee shop you’re greeted by friendly staff who were wearing masks and very well-versed in coffee and CBD offerings. I introduced myself to the owners, Tom and Lisa, who were extremely hospitable and very happy to tell me about their special roast and coffee selections. I wasn’t interested in any CBD information but I did hear Tom elaborately explain their CBD items to other customers. It seemed like they were very knowledgeable on all of the items they sold along those lines.
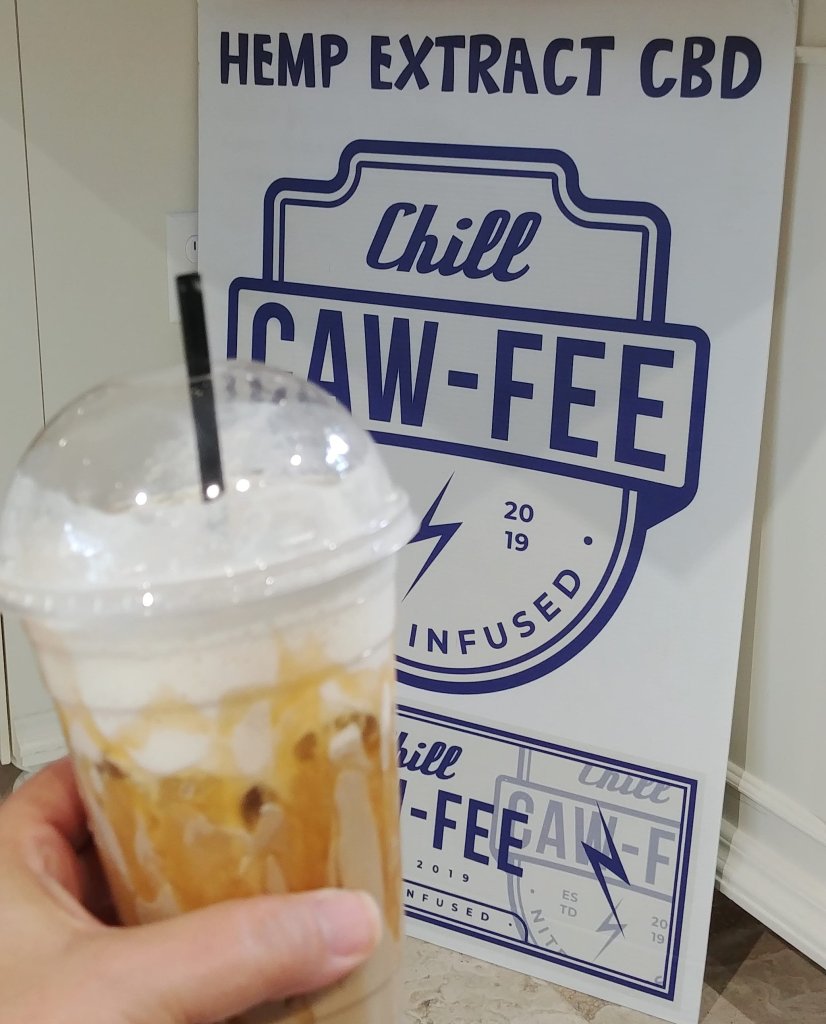
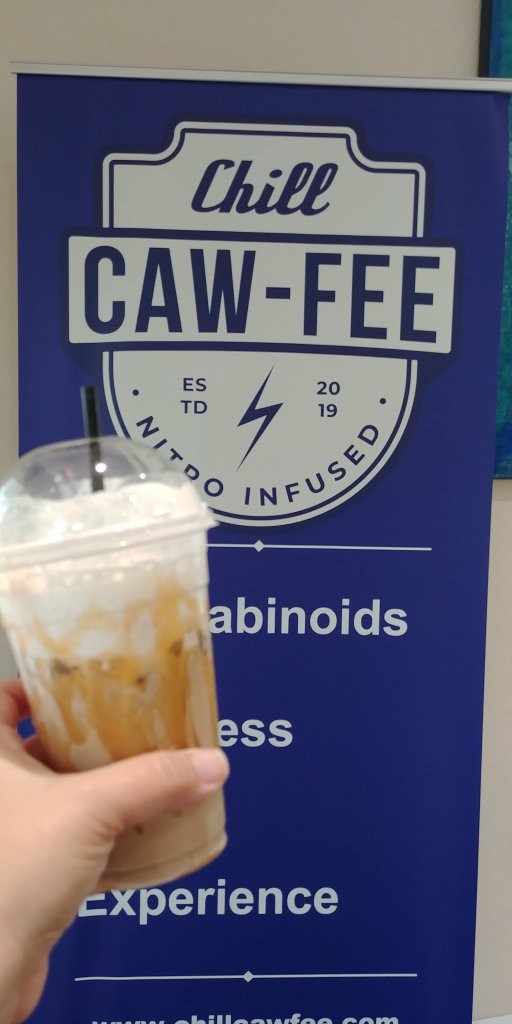
I asked for a recommendation and went with the caramel dream iced coffee … Yum!! Great choice for a sweet coffee lover. And I was already warm from running errands so this iced coffee truly hit the spot, plus it had one of my favorite candies as a garnish, a caramel cream… Score!
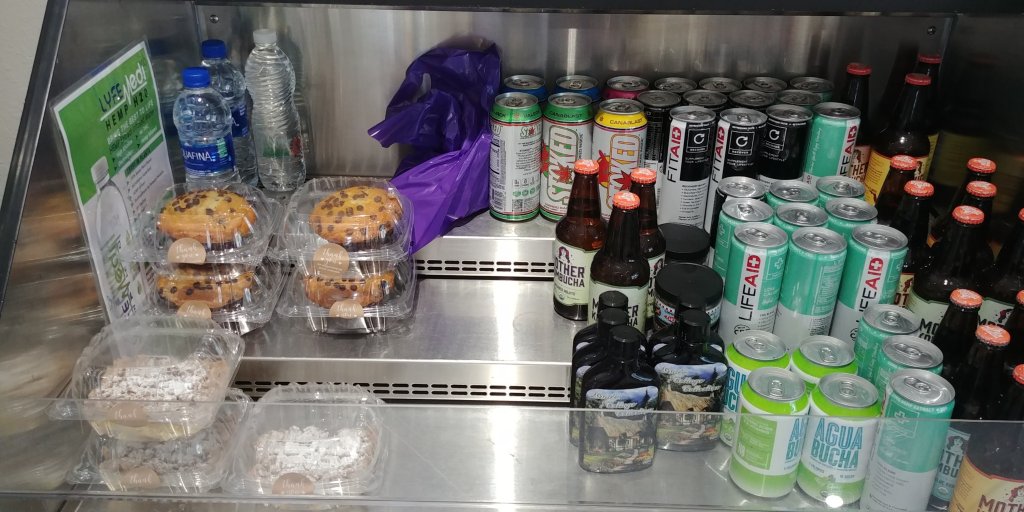
They carry growlers, CBD infused beverages, kombucha and offer muffins, cinnamon rolls, crumb cake and breakfast wraps to name a few things on the menu. There was a constant flow of customers in and out of this coffee shop, which to me is always a great sign of a well received business that the community enjoys patronizing.
Run, don’t walk go get your coffee on at Chill Cawfee!
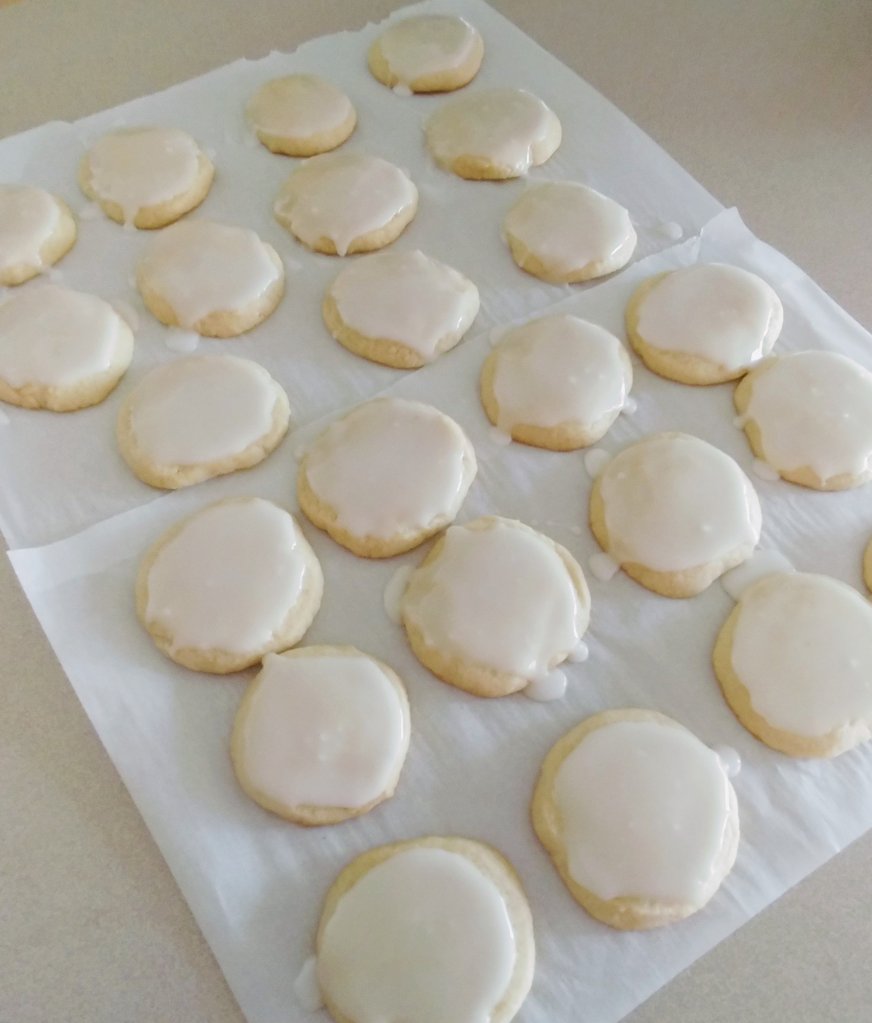
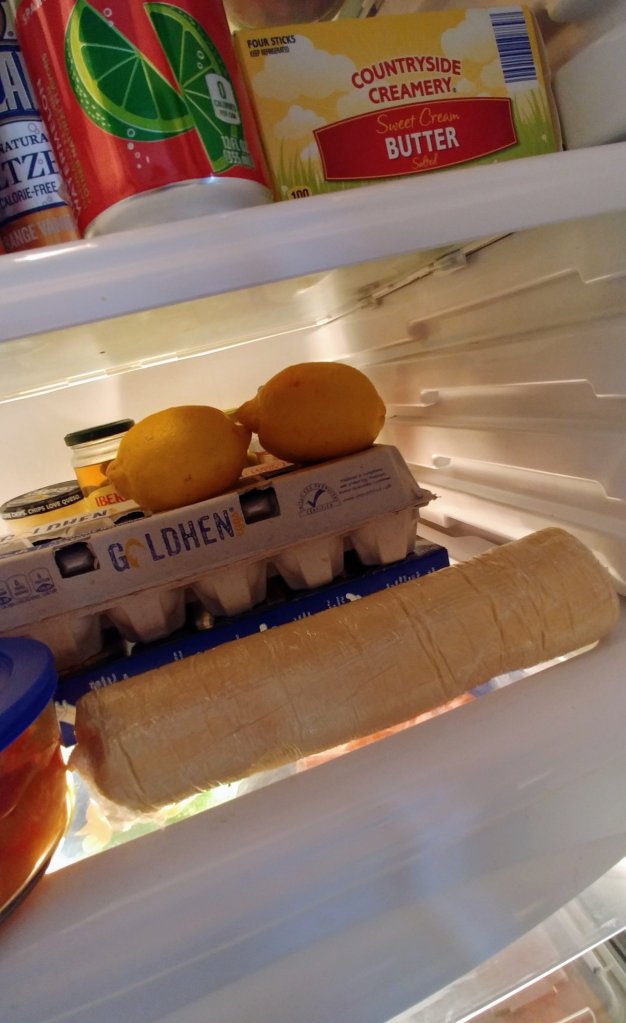
Today is “Sugar Cookie Day” and I’ve always been a fan of celebrating the quirky “National Days Of”… I knew that I could not celebrate Sugar Cookie Day without baking some for my family!
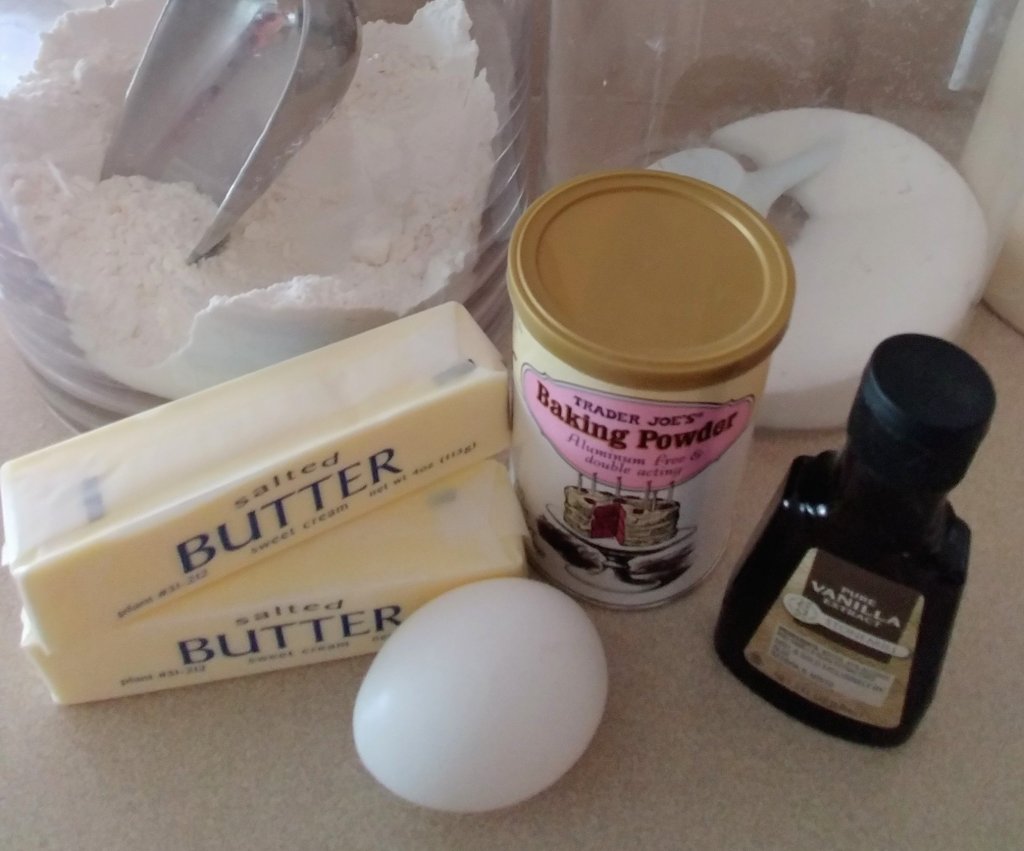
Ingredients:
2 1/4 c all purpose flour
1/2 tsp baking powder
1/4 tsp salt
3/4 c unsalted butter, softened
3/4 c granulated sugar
1 (room temperature) egg
2 tsp pure vanilla extract
Icing (recipe to follow)
Easy ingredients! Easy recipe!!!
Directions:
In a large bowl, beat the softened butter and sugar together with a hand mixer until smooth and creamy.
Add the egg and vanilla extract and beat until the ingredients are incorporated. Scrape down the sides and up the bottom of the bowl and beat again as needed to combine.
Add the flour, baking powder and salt to the wet ingredients and mix until completely combined.
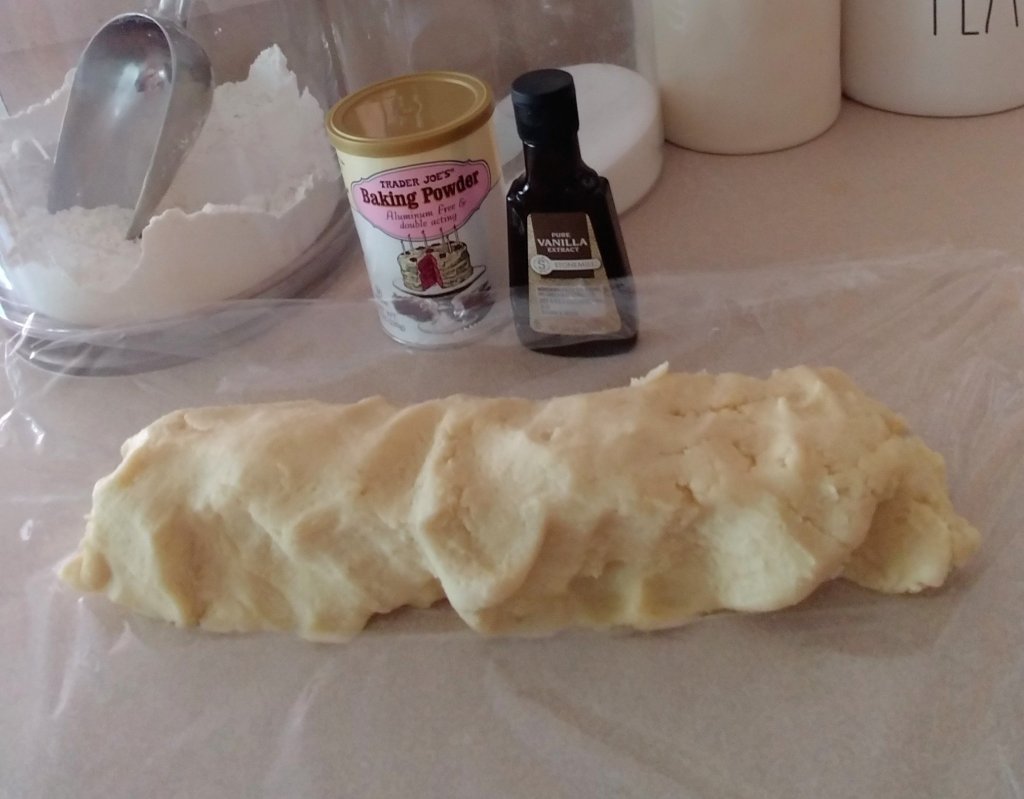
The dough will be soft at this point. Place the dough in plastic wrap and mold into tub shape so you can slice and bake once it’s cool.
Refrigerate the wrapped dough for about an hour and up to 2 days.
Preheat your oven to 350°F.
Line 2 large baking sheets with parchment paper.
Slice the dough into 1/4 inch disks (like traditional slice and bake store bought cookie dough) and place each disk about 2 inches apart.
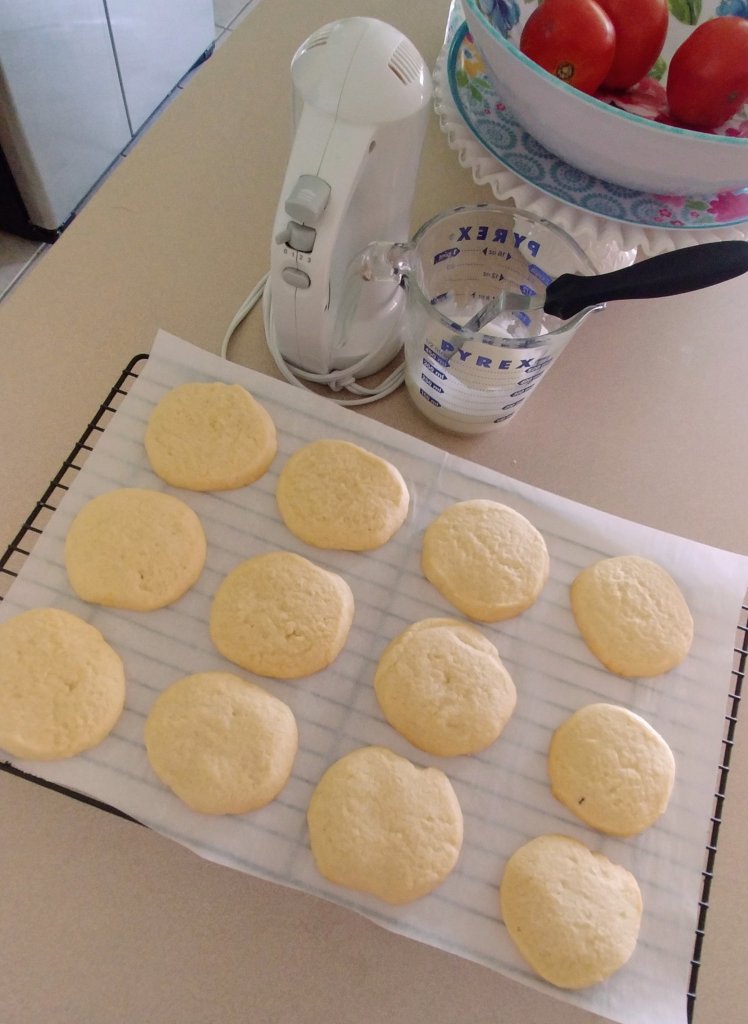
Bake for 10 minutes or until lightly browned around the edges.
Transfer to a wire rack to cool completely before decorating.
Shape the cookie dough into a log. Use the plastic wrap to smooth it out, rolling it back and forth on the counter once it’s wrapped.Refrigerate the cookie dough for easy slicing!
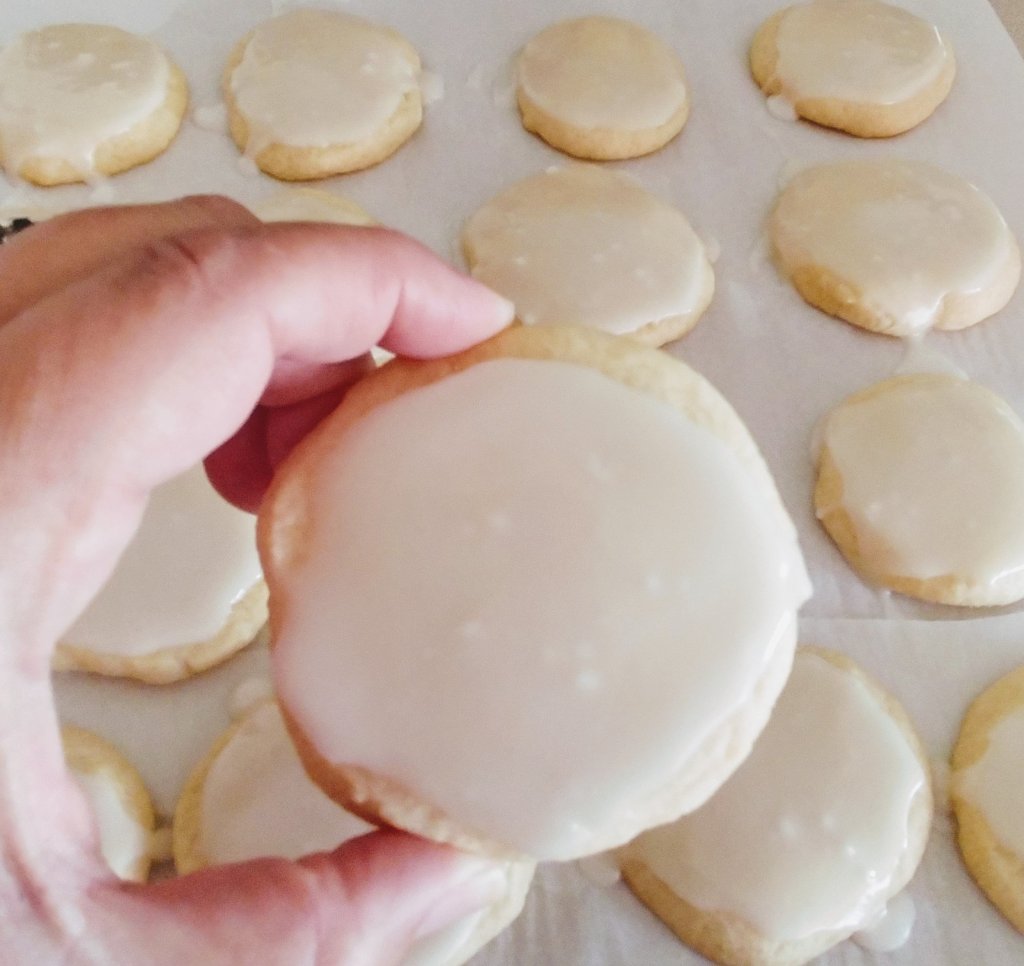
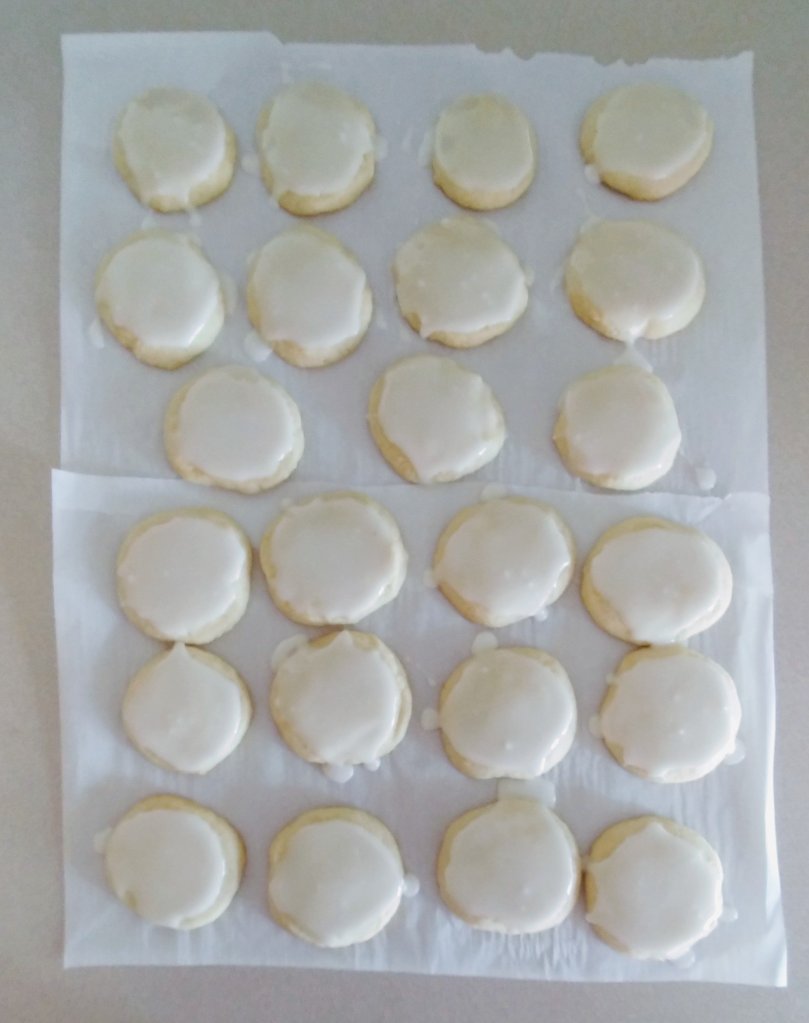
Cookie Icing:
1 1/2 c powdered sugar
1/2 tsp pure vanilla extract
1 tsp light corn syrup
2 to 3 tbsp tap water
a pinch of salt
Combine all of the above ingredients until you get an icing constancy. Add more powder sugar if it’s too thin or more tap water if it’s too thick.
My husband often scouts out dinner ideas and recipes for me to try while he’s browsing YouTube, Facebook and Instagram. He’s asked me several times to try my hand at honey sesame chicken. I guess I should have prefaced, we are huge Chinese takeout fans!
One early evening, I sent him on a mission to read over a few honey sesame chicken recipes and I’d modify them as I started preparing the dish. I keep a well stocked pantry so I actually had everything I needed on hand to cook this entree!
Ingredients:
Tempura style chicken-
3 chicken breast, cut into bite-size cubes
1 cup self-rising flour
1 cup water
Salt and pepper to taste
1/4 cup self-rising flour (to dredge the chicken in)
Honey sauce-
2 garlic cloves, minced
1/3 c honey
2 tbsp brown sugar
2 tbsp water
1/2 tsp Sriracha
1 tsp sesame oil
1 tsp soy sauce
1 tsp rice wine vinegar
Pinch salt & pepper
*Adjust these measurements to taste*
Additional needs-
Canola/ vegetable oil (for frying)
Toasted sesame seeds (for garnish)
Sliced green onions (for garnish)
Wok
Directions:
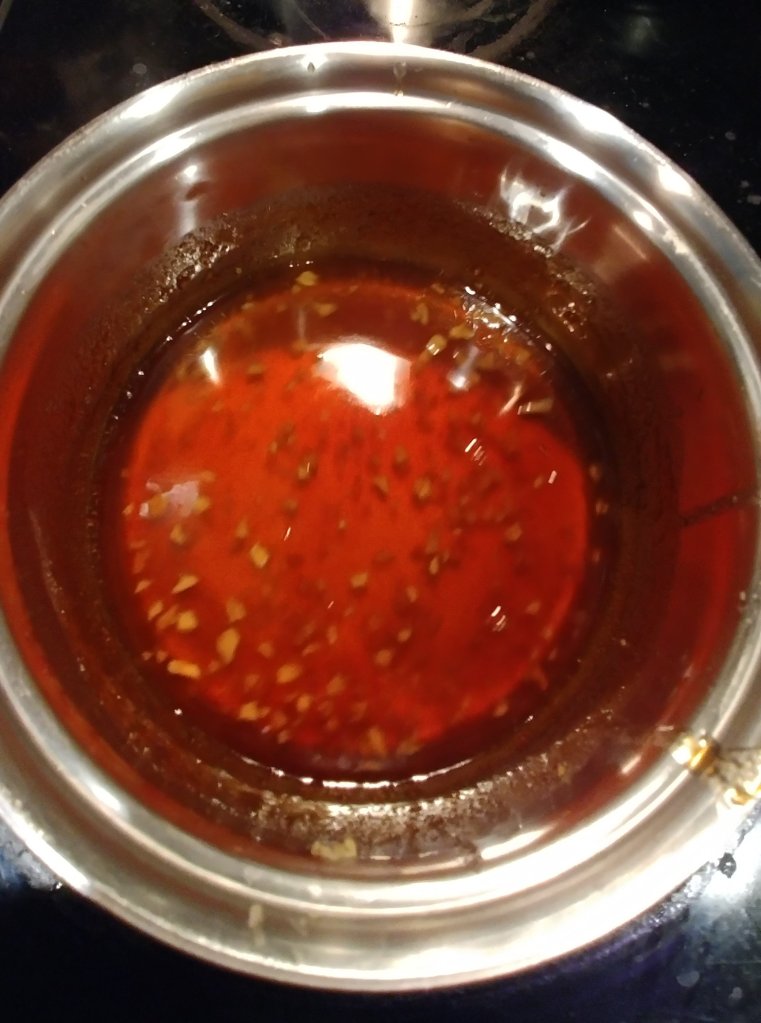
Add all of the honey sauce ingredients to a small saucepan and bring to a slow simmer. Let it reduce a little and slowly simmer as you fry the chicken.
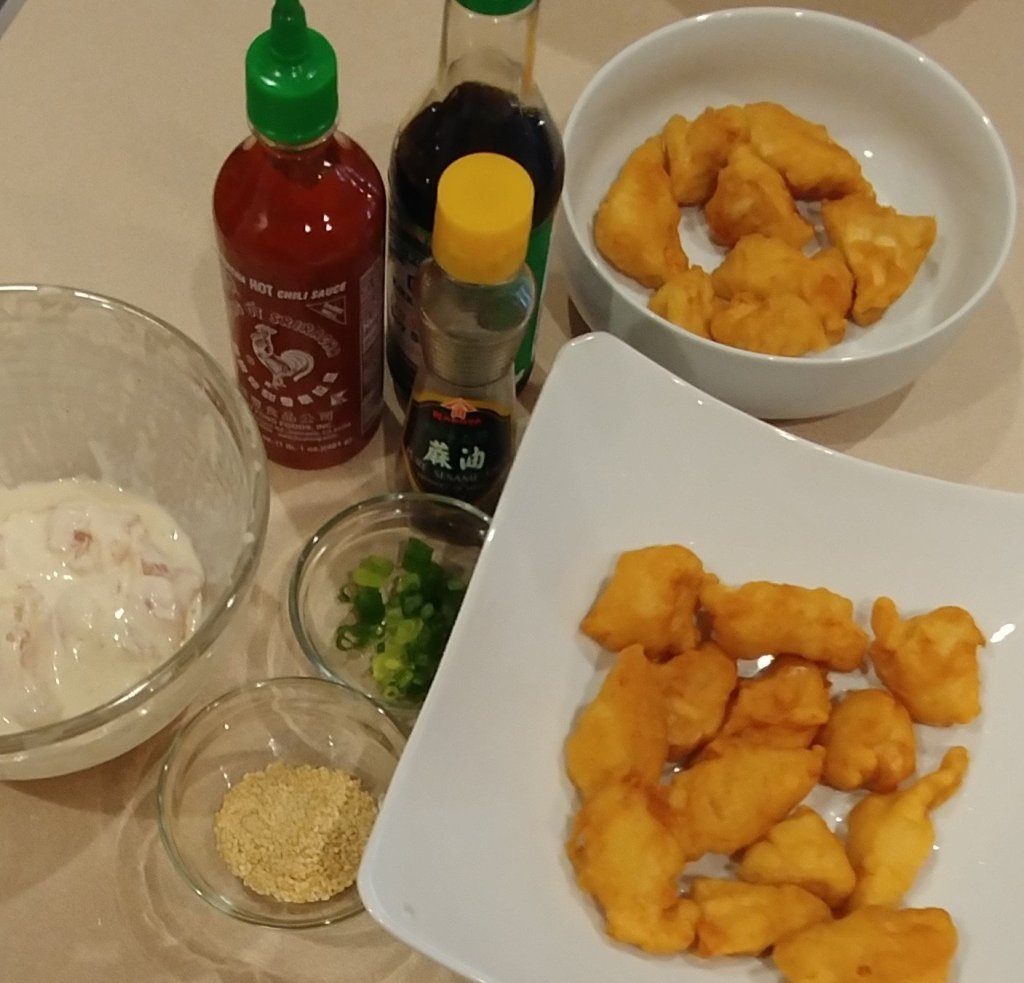
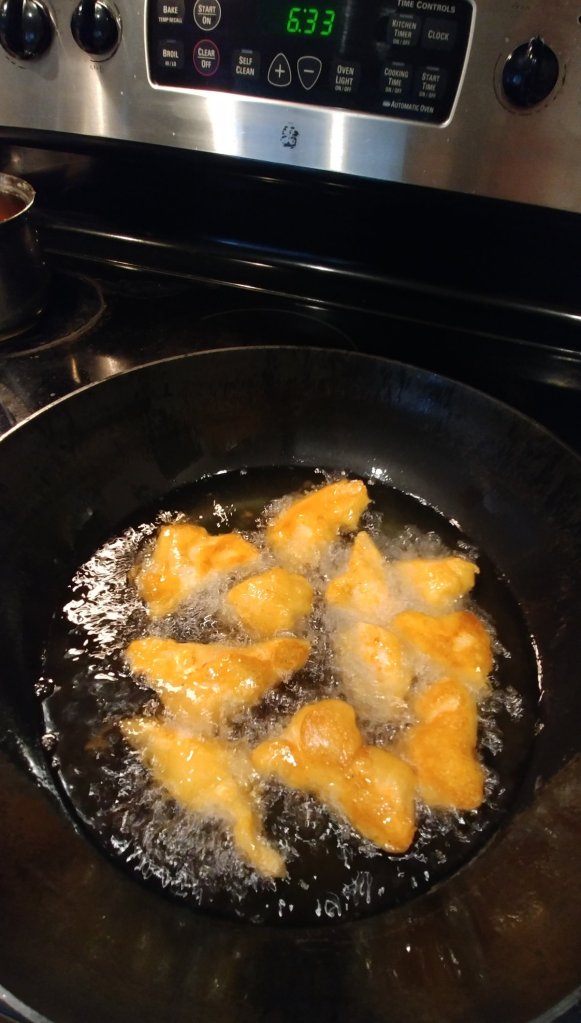
Mix the tempura ingredients to the consistency of pancake batter. Add a little more flour or water if necessary, at this point. Dredge the chicken in the self rising flour. Add your floured chicken to the tempura mix. Heat the oil in the wok to about 350. Add the chicken (one at a time, shaking off excess batter) in several batches, do not overcrowd the wok as it drastically change the oil temperature. Adjust your heat if your chicken is browning too fast. I generally remove the chicken when the batter is a nice golden brown.
Toss fried chicken pieces with the honey sauce mixture. Garnish with toasted sesame seeds and green onion. Serve with white rice.
Enjoy this “easier than you think” recipe for dinner this week!
Today is what America should be all about! Yes, most of our families imigrated to this country for freedom and a better life and as much as we appreciate that we celebrate it with family and friends and great food! July 4th is all about freedom food family and friends, arguably, the greatest summer holiday!
Today also happens to be National Barbecued Sparerib Day! And I forgot to look ahead on my desk calendar for the upcoming “national day of”. Yes, I actually keep these dates write down and celebrate these quirky little events with my family. Coincidentally, I made ribs last night instead of waiting to do it today!
I’m a baby back rib fan so in my opinion these are close enough… I’ll give you some quick tips on how I prepare and cook them!
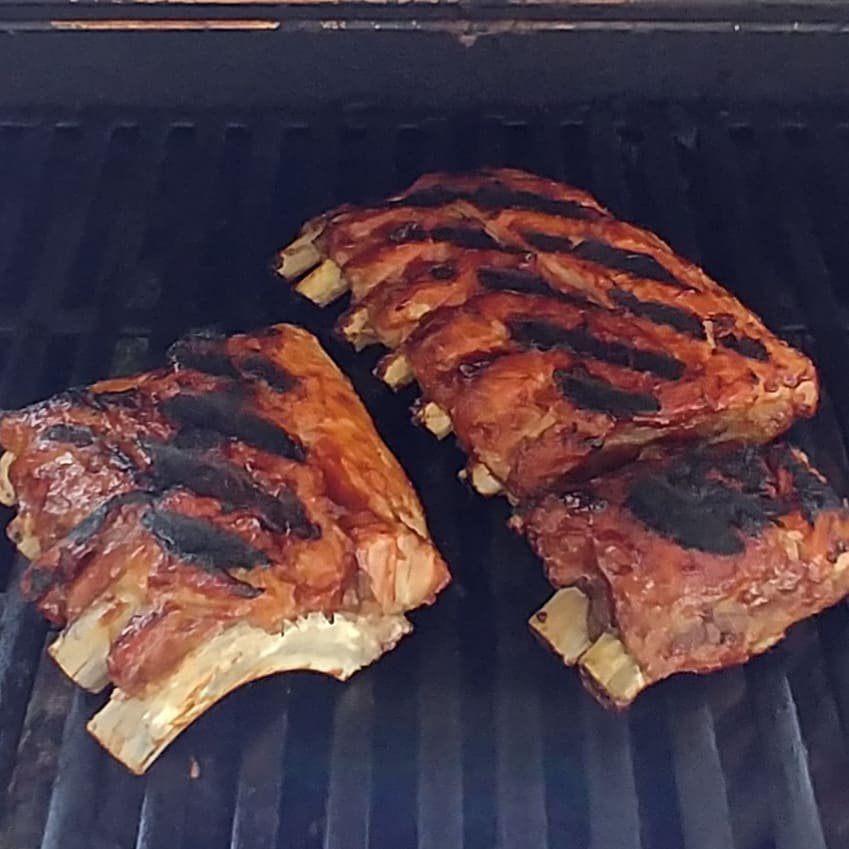
I start by cutting a rack of baby back ribs in half so they fit into the foil packet I slow roast them in. I then remove the silver skin that’s on the back, boney part of the rack. I dribble a little bit of beer over them while they’re laying on the foil. I fold in the middle of the foil, then I bring up the side, so it’s completely sealed. You want your foil packet to be totally sealed because the steam from the beer and the natural juices of the ribs help it slow-roast. I turn me oven on 275 and leave it unattended for about 3 hours.
You’re finished product is going to have pulled away from the bones at the tips, that is your indicator that it’s already tender. Which is what we want! Fall of the bone ribs!
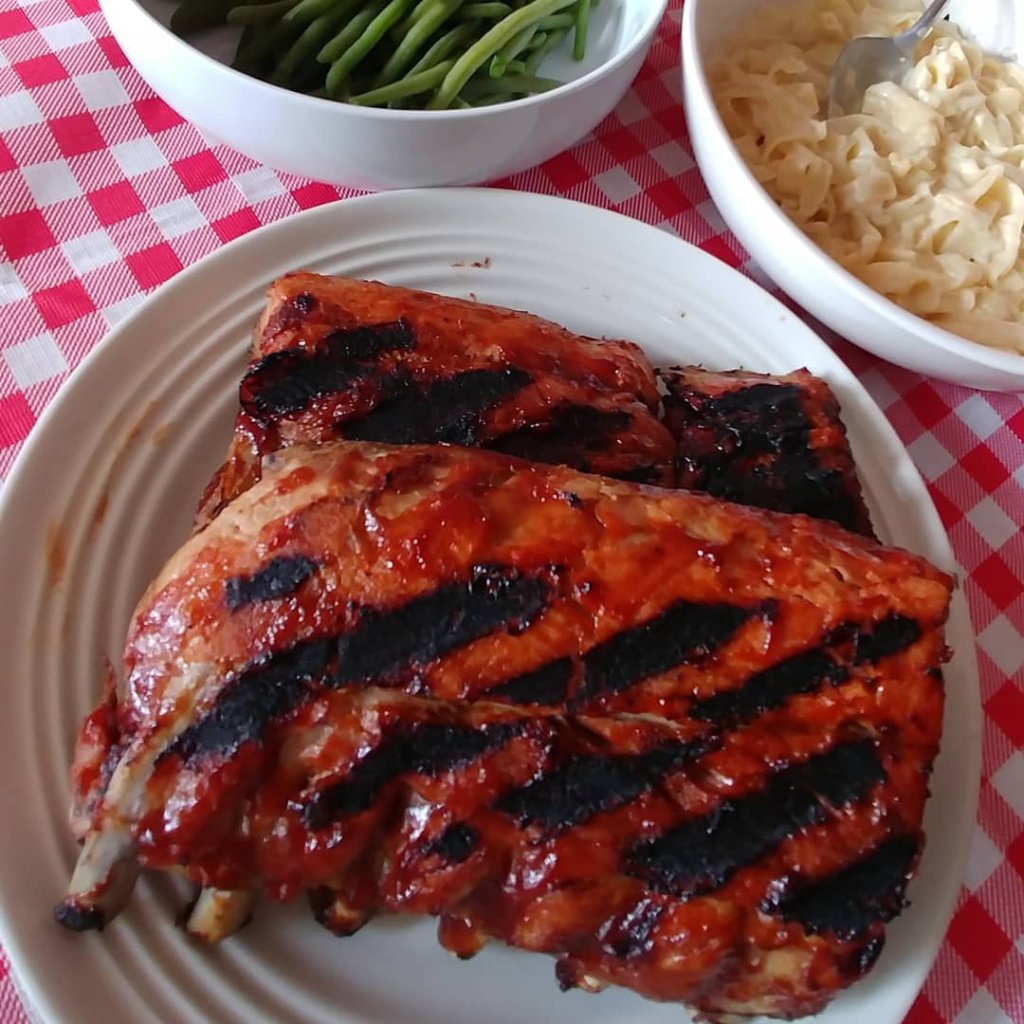
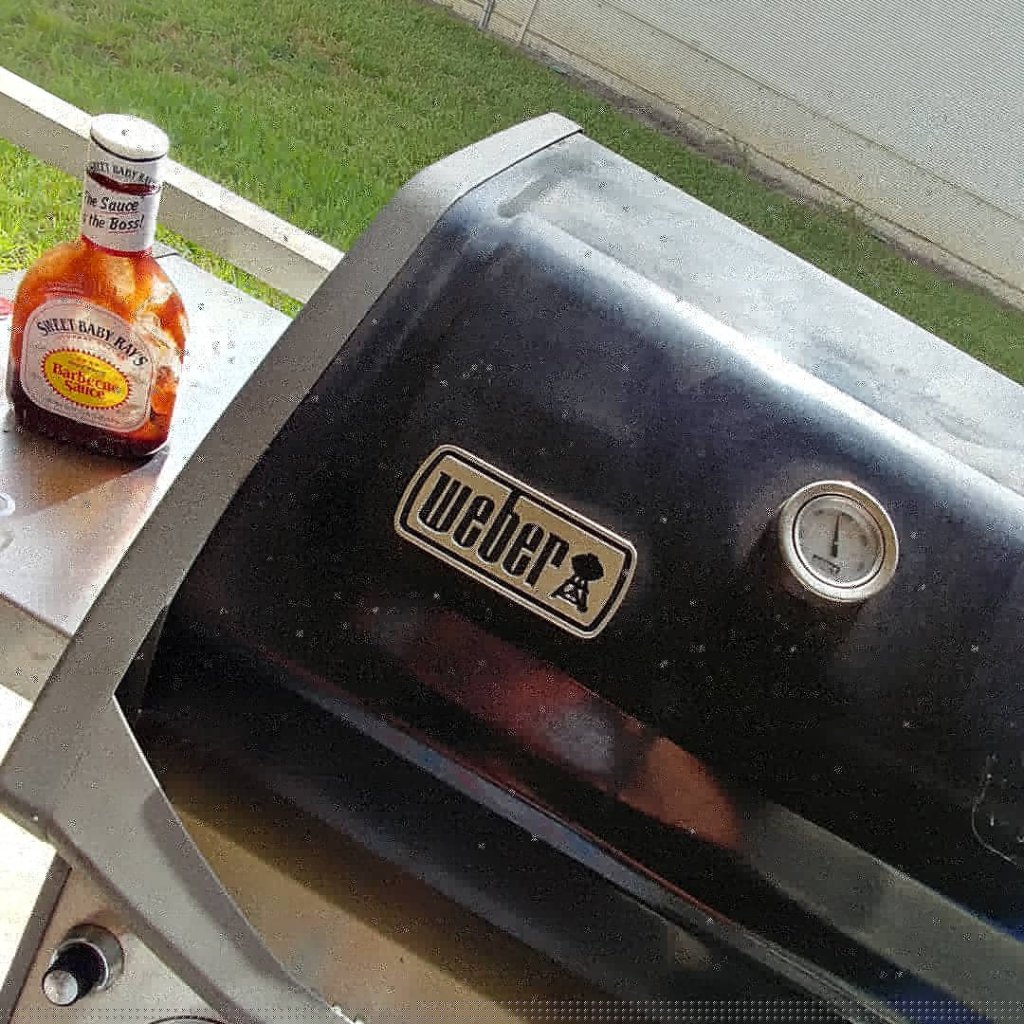
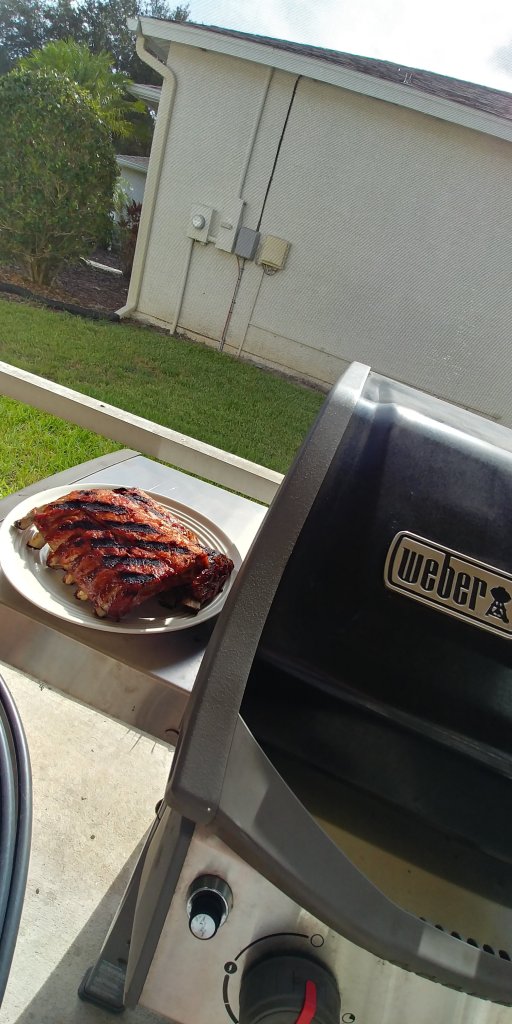
The last step only takes about 5 to 10 minutes. You get your outside grill / BBQ nice and hot then turn the heat down very low. Place the ribs, meat side down first, for about 5 minutes to get grill marks. Turn them over and baste that side with your favor BBQ sauce. Repeat this process for the bony part of the ribs, as well.
This part goes quick!! So keep an eye on it because the ribs will burn very quickly with the sugars from the barbecue sauce.
Side note: I do not like rubs on my BBQ food but you could certainly season with a rub instead.of traditional BBQ sauce. If that’s how you choose to season your ribs, I would do that starting when you slow roast them and then add rub mixture before you put it on the grill.
No matter how you celebrate the independence and freedoms of our great country, be safe and be smart!
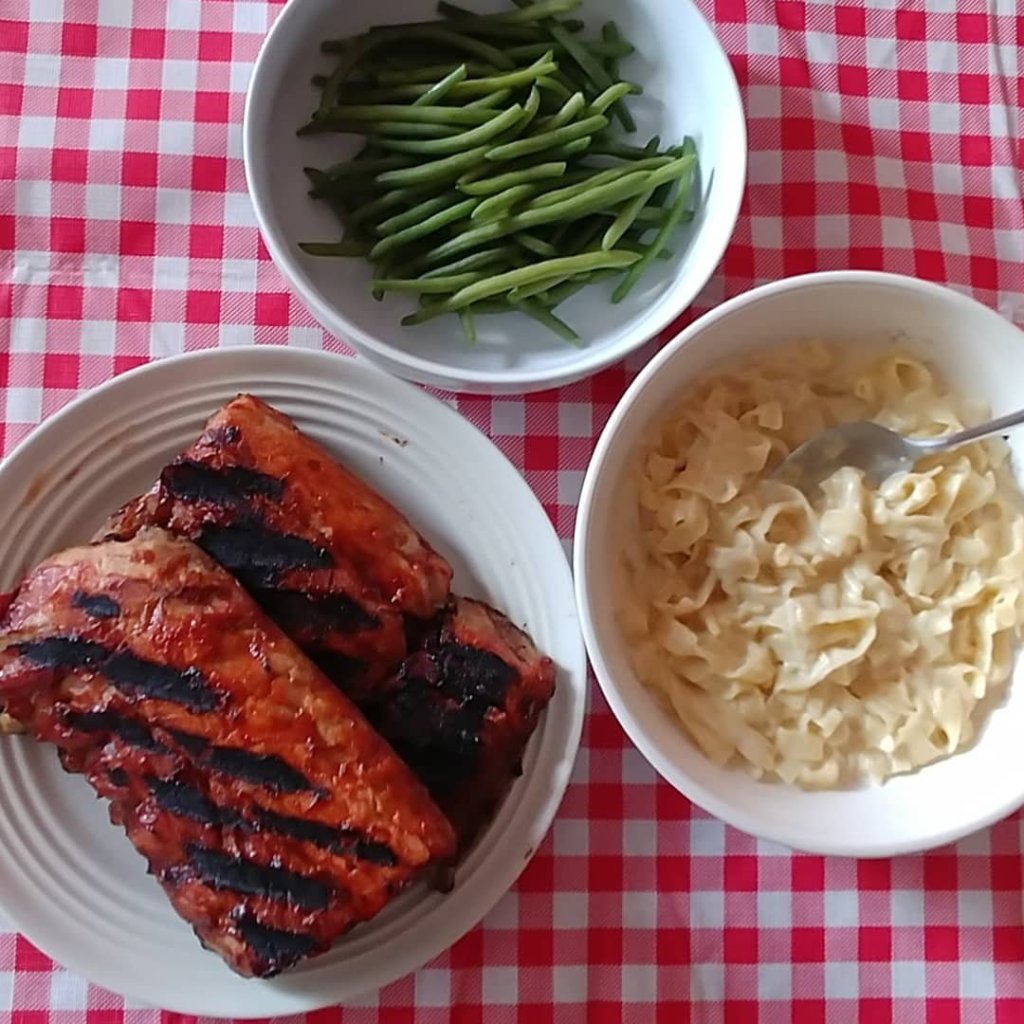
Go the extra mile and serve on a festive platter 🇺🇲
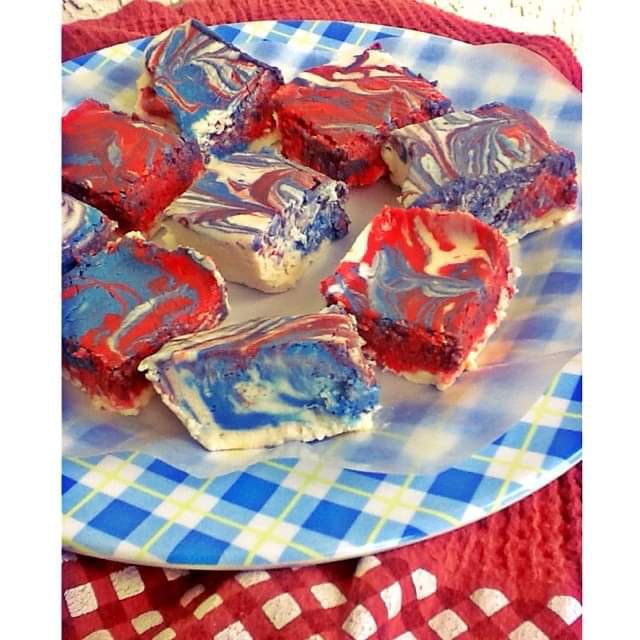
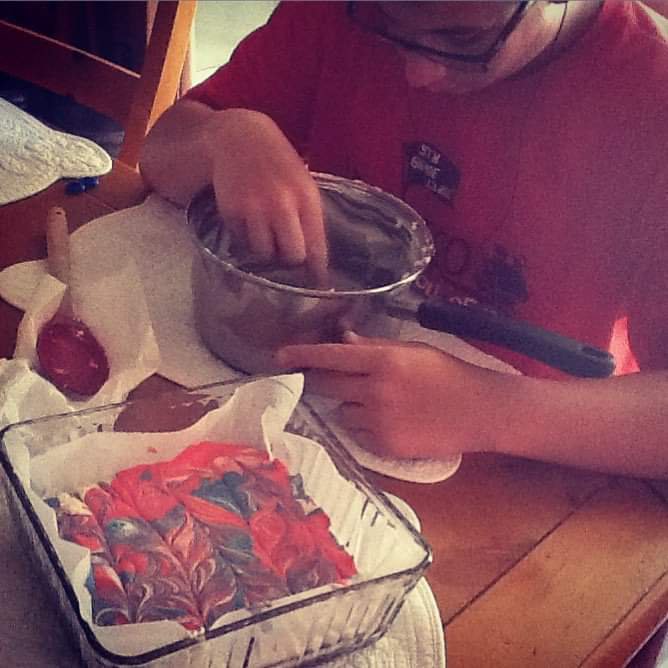
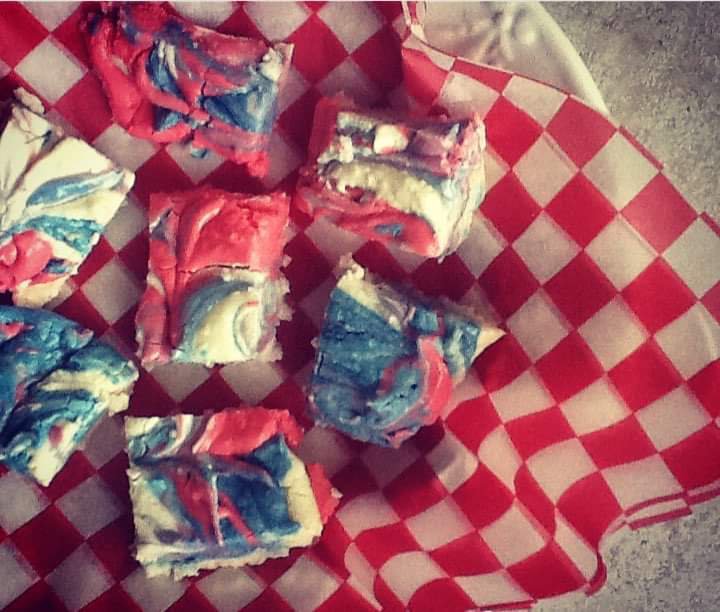
Many moons ago, I made red, white & blue tie-dye fudge for my boys. I made it to celebrate the Fourth of July with friends. It’s a treat that my children still talk about to this day, even though I haven’t made it in a few years! So I dug the pictures up out of my family “archives” and found my recipe and decided it needed to be put out in the world to share so that your children have fun memories of it too!
My oldest helping me marble the colors together! I’d say this photo is about 8 years old ❤️💙
Ingredients
2 1/2 c granulated sugar
1/2 c unsalted butter
5 oz evaporated milk
2 c marshmallow fluff
8 oz white chocolate chips
red & blue food coloring
parchment paper for lining
nonstick cooking spray
Instructions
Line an 8×8 baking pan with the parchment paper and spray with the nonstick cooking spray.
Prepare 3 bowls, 3 spatulas or spoons, the food coloring and a knife. Make sure you have this laid out before you start as this process moves quickly.
In a large saucepan, combine sugar, butter and evaporated milk. Cook over medium heat, continually stirring. Use caution, candy making can be dangerous as the sugar mixture is as hot as lava at this point!
When the mixture comes to a boil, stir frequently for about 5 minutes. Add in the marshmallow fluff and the white chocolate chips and mix until smooth.
Separate the mixture into the 3 bowls. Add the red food coloring to one bowl and stir. Add the blue food coloring to another bowl and stir. Leave the third mixture as is, white.
Pour the red fudge into the prepared baking pan, smoothing with an offset spatula and tap on the counter to smooth out the top.
Pour the white fudge on top of the red, smoothing with a clean offset spatula. Lastly, pour the blue fudge on the top and smooth out as directed above.
Take a knife, toothpick or skewer and drag it through all three layers, making a marbled pattern.
Allow the fudge to cool completely before cutting, 2-3 hours.
Good morning loyal blog readers!! Today is July 2nd, also known as “Made in USA” day and what’s more American than BBQs and grilling???
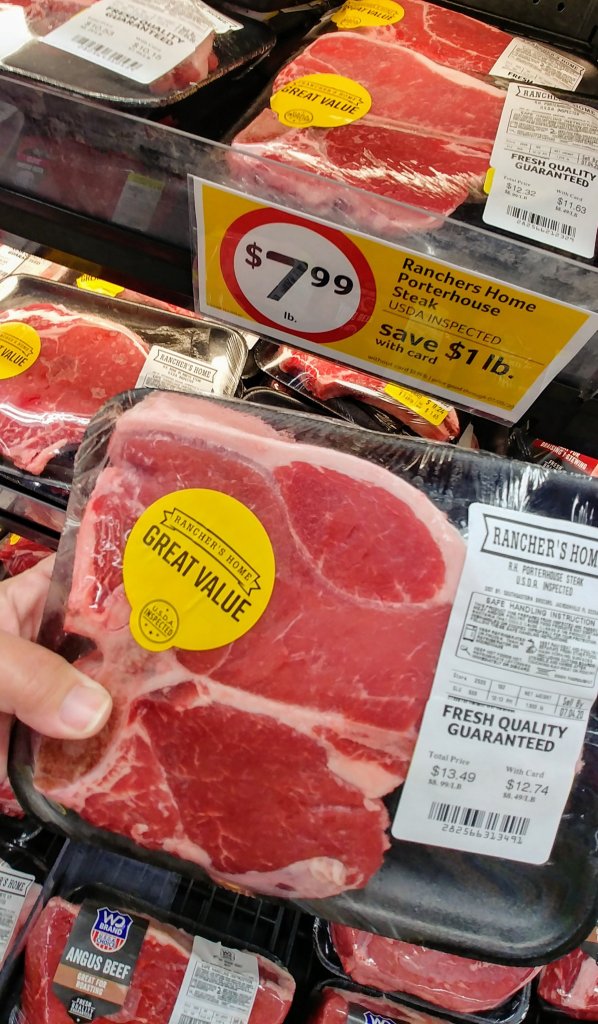
I’ve recently been enjoying shopping at my local Winn-Dixie for meat. Namely steaks. I know, I know… I hated Winn-Dixie as a kid too! My mom used to drag me there as a child to shop with her. It wasn’t as clean as the more popular grocery stores, it was a little darker & dingier and it definitely lacked the customer service you get from Publix…. but their meat is amazing! And since I’m a foodie, I have to go with the quality of the product over the dinginess of the store! And God bless, their steaks are pretty darn delicous!
This morning, I headed over to my Valrico store before I started work. I got there about 7:30, so I beat the crowd. I’m a little more conscious of shopping at off peak times now with the pandemic and social distancing.
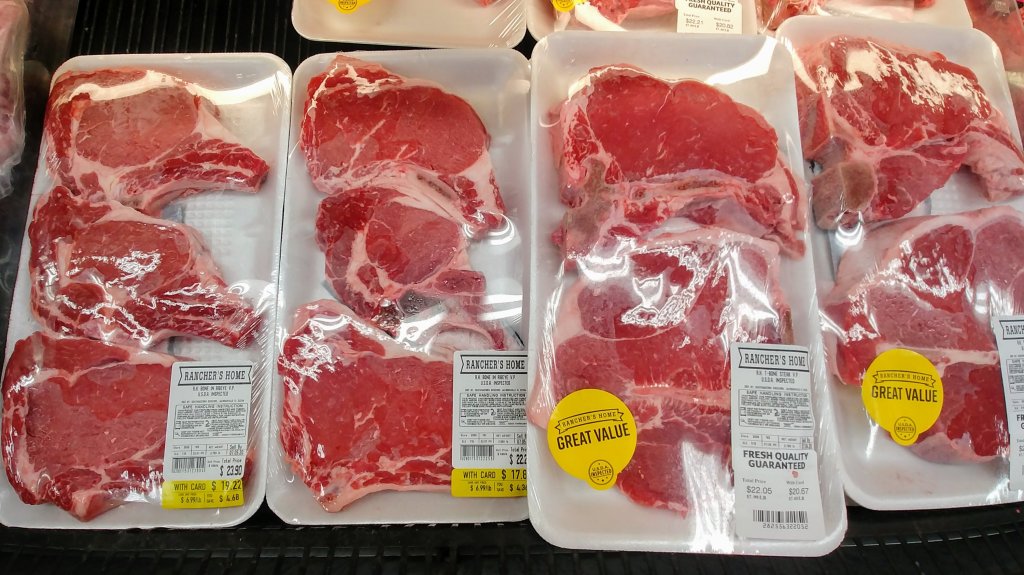
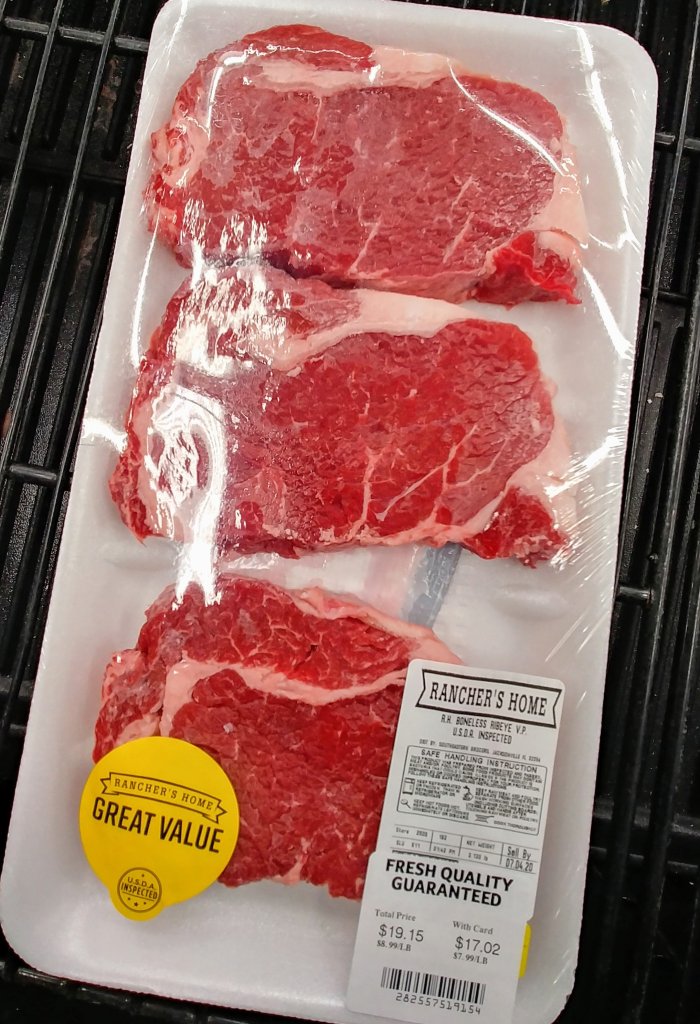
I made a B-Line directly for the weekly sale steak bin located separately from the main meat case. I really like that it’s separated from the main case because it’s easier to browse while other shoooers gather around it and it’s always fully stocked! Today they had some pretty Ribeyes that I grabbed! They were only $7.99 lb!! To good to pass up! The bone in NY Strips looked fabulous as well! In my opinion, there was no wrong choice when it came to picking a pack of steaks this morning!
My plan was just to gab steaks and go but as wood happen to any foodie, I got sucked into browsing the other meat varieties and was pretty impressed with the sale prices this week! The 80% lean fresh ground chuck value packs are only $3.49 a pound this week, that’s a fair deal.
Remember Winn-Dixies slogan when we were kids, they were the beef people, so how can you go wrong?!
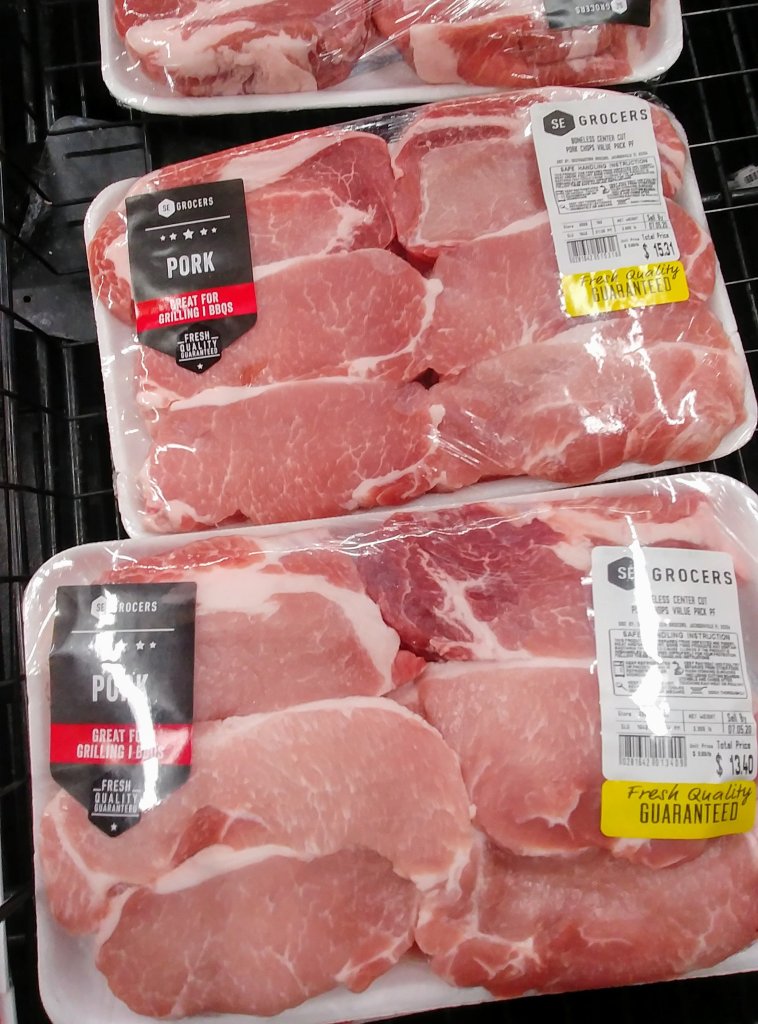
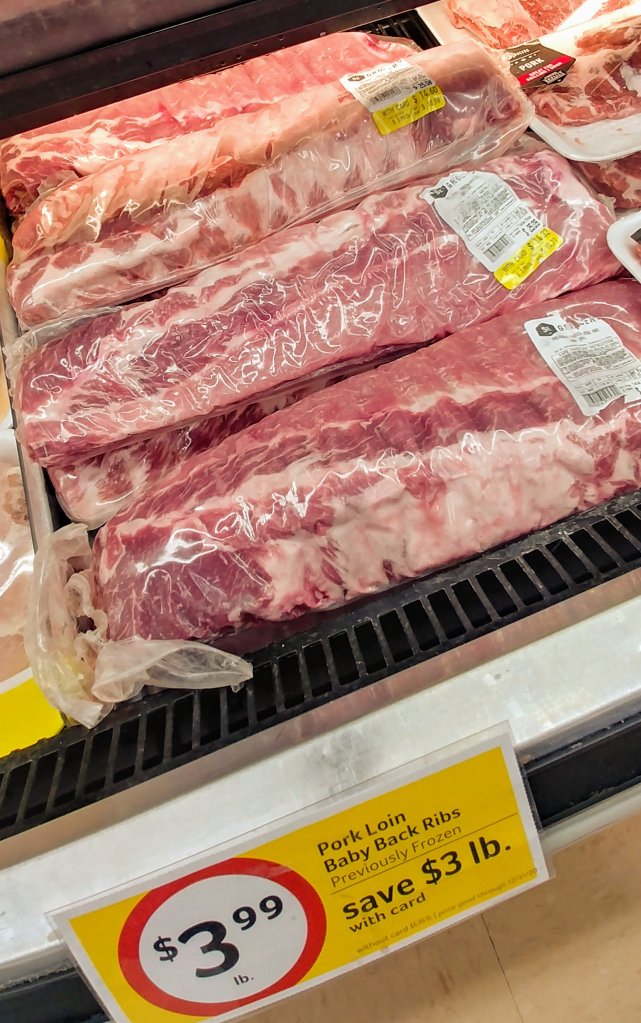
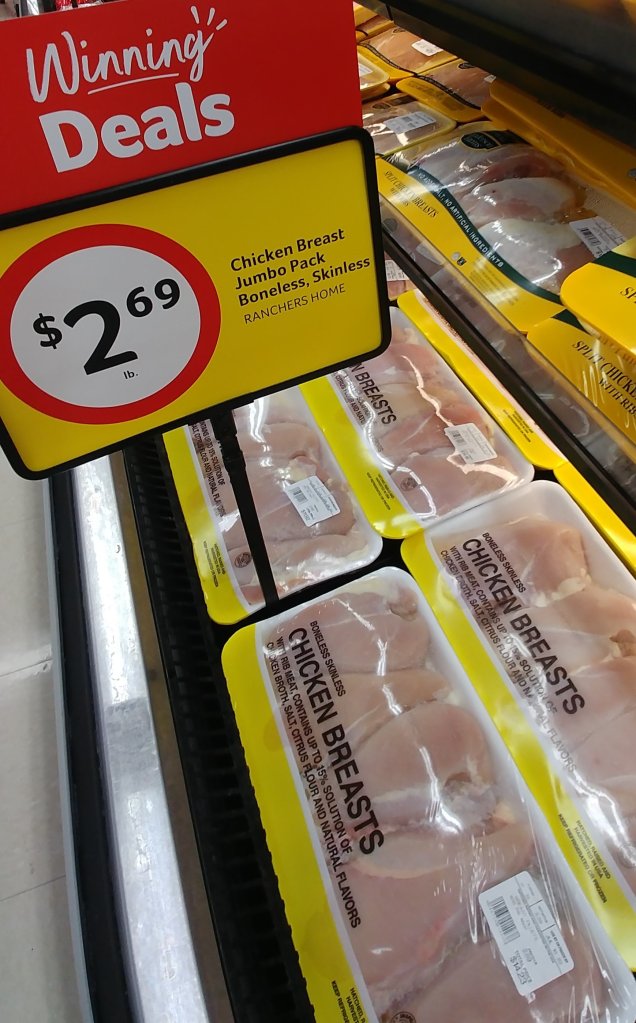
I already grabbed a rack of baby back ribs the last time I was at ALDI but I thought the ribs looked like a great deal from Winn-Dixie for $3.99lb. I didn’t catch the price per pound on the center cut pork chops but at a quick glance, it didn’t seem too pricey for the amount in each package. On the other hand, the boneless, skinless chicken was $2.69 lb. I usually find it around town for about $1.99 lb, so I think you can do better in the price of chicken that at Winn Dixie this week.
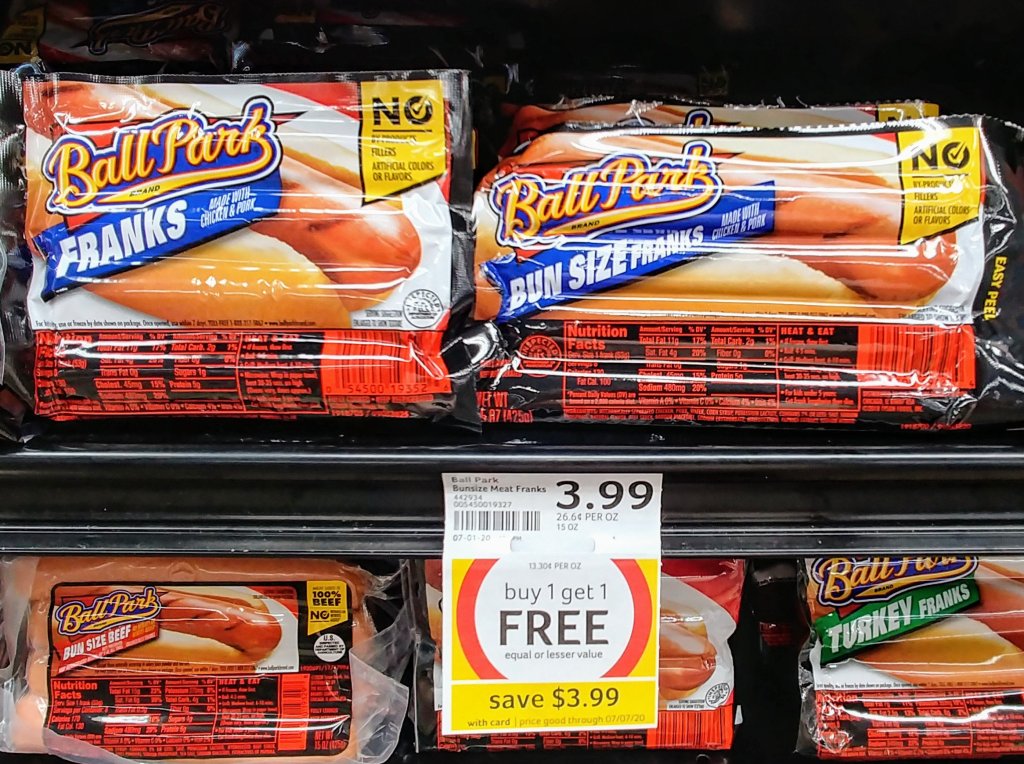
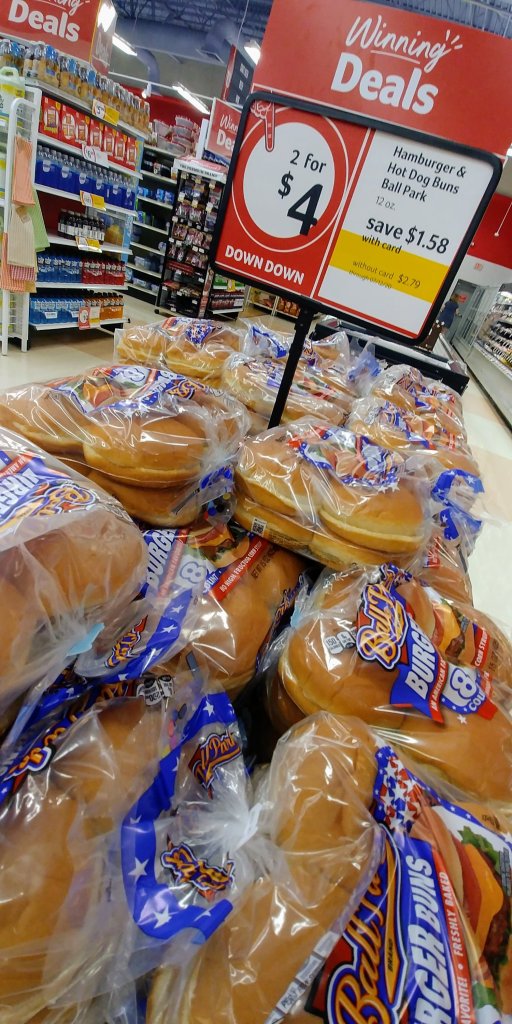
Continuing my luxurious stroll through the meat section at Winn-Dixie this morning, I stumbled upon the Ball Park Franks! BOGO alert! $3.99 for 2 packages of hot dogs… Sold! And how’s this for another win… Ball Park brand hot dog buns were located on a display right next to the hot dog case and they are on sale for $2 for the eight pack! I am not waiting until the weekend to make the hot dogs, this will be our lunch today!
In keeping with my Americana theme today, I googled Ball Park Franks to make sure they were made in America and I learned a little something interesting about them. This particular brand was popularized in 1958 by the MLB team, Detroit Tigers. It was also the most consumed hot dog brand in America with 94.9 million consumers in 2017! The brand name Ball Park Franks makes a lot more sense now!
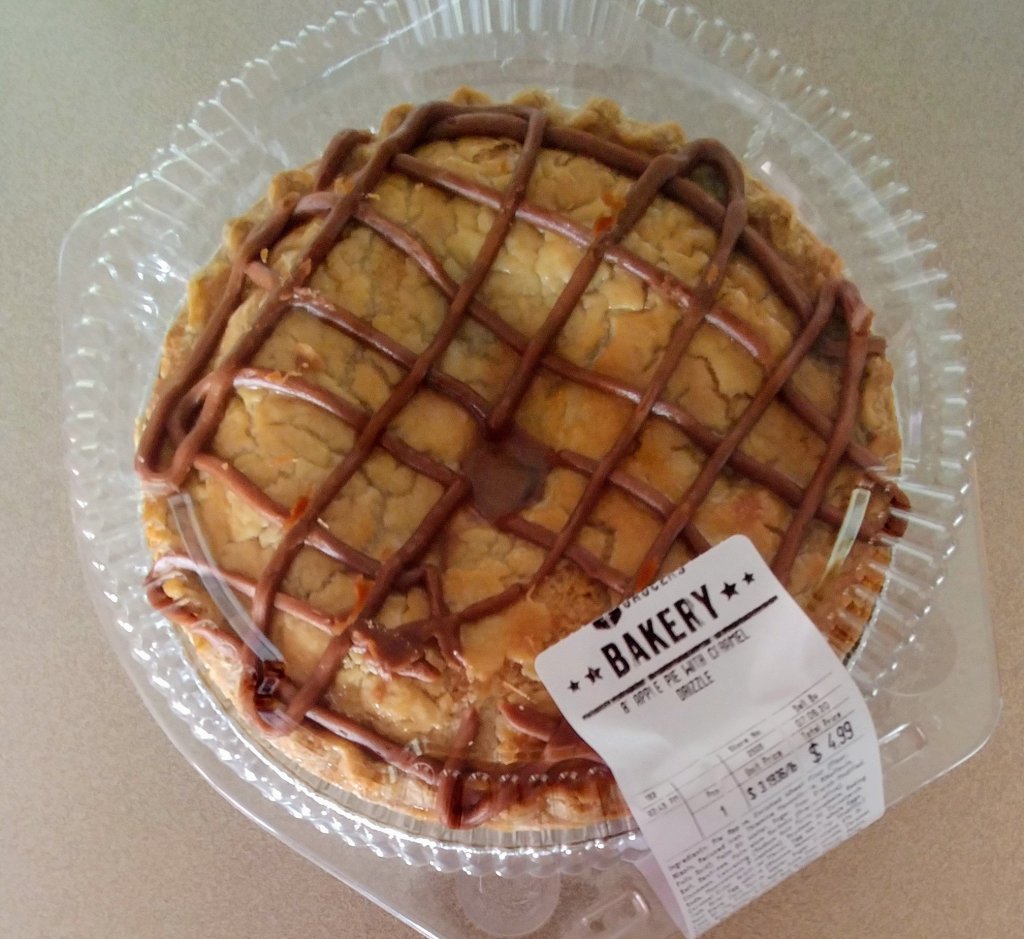
What’s more American than hot dogs, baseball and the Fourth of July?! Maybe apple pie! Since we’re speaking about apple pie, Winn-Dixie has there’s on sale now for $3.99 (8 inch fruit pies). I am pretty picky when it comes to store bought pies but I have to hand it to Winn-Dixie, they make an amazing apple pie with caramel drizzle … so I grabbed one of those too!
Lately I’ve been pretty impressed with Winn Dixie steaks, they are the Beef People after all!
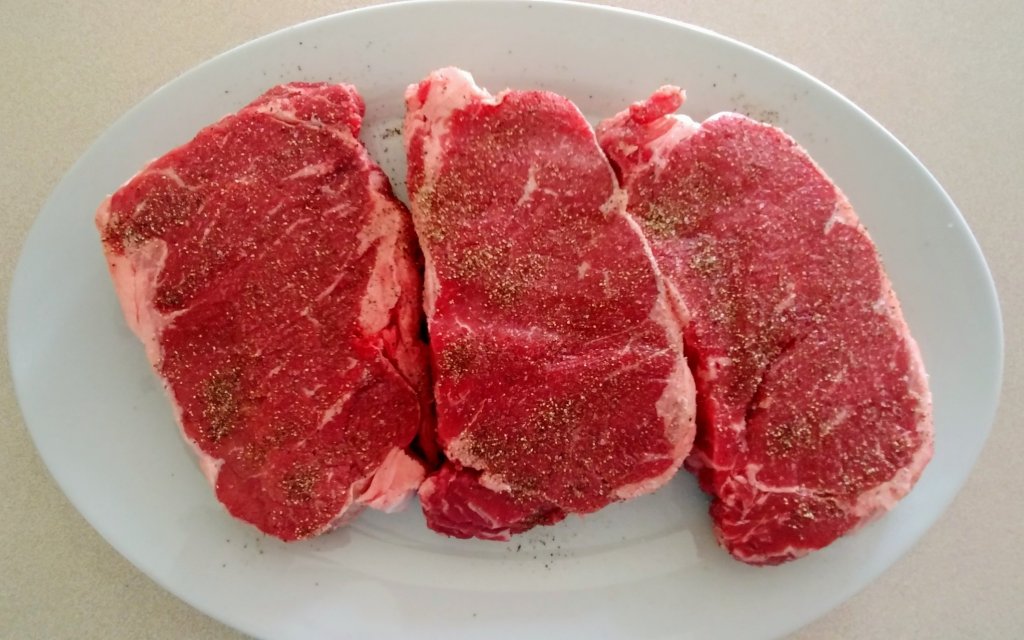
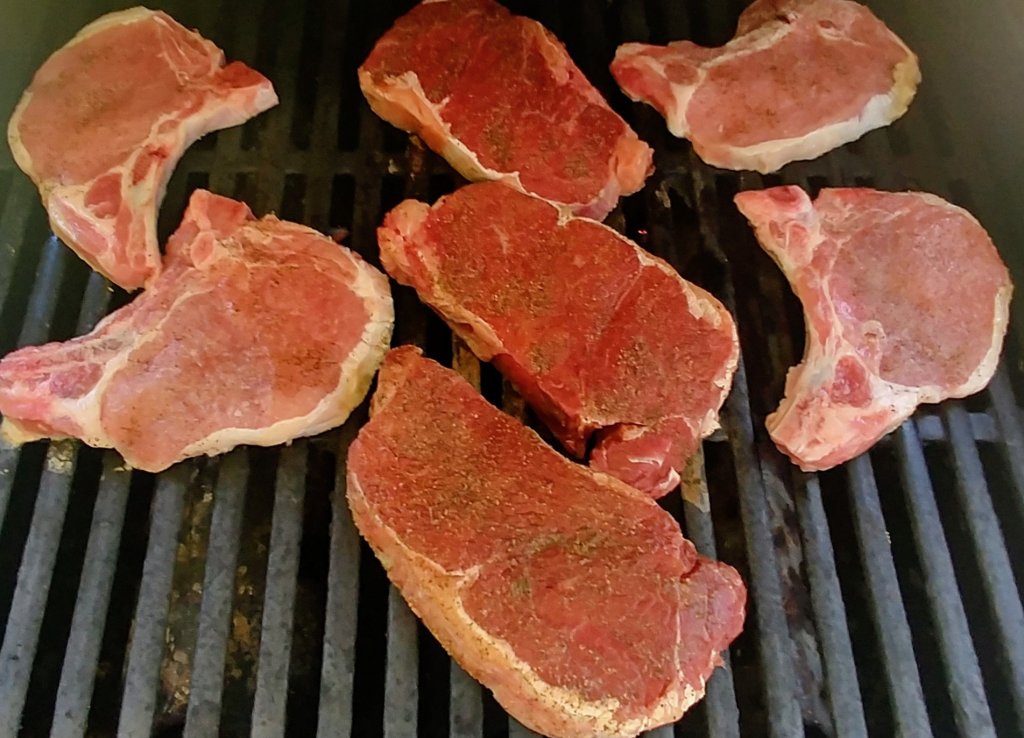
What would grillin’ season be without a big old hunk of meat?! I am a huge red meat lover!! Give me a juicy, tender, medium NY Strip steak and I’m in heaven! I don’t need fancy toppings, elaborate seasonings or over the top sauces… Just good old fashioned s&p. Salt & pepper just seems to preserve the integrity of a really good cut of beef!
By all means, I’m not suggesting that you go all Plain Jane at your next cookout, s&p just happens to taste best on the steaks I prepare for me and my family. When I cook steaks indoors, I season it with a generous sprinkling of copycat Outback Steakhouse seasoning and sear it in the cast iron with butter and it is divine! I’m more of a purest with the grilled steak!
NY Strips on my Weber grill with a few pork chops for my boys that may not be too keen on steak at the moment. My middle son actually loathes red meat and some times it’s not worth the fight!
A few tips and tricks I stick to when preparing my steaks for the grill is to 1) I take my meat out of the fridge about a half hour before I want to get it on the grill. This way it cooks more evenly since it won’t be stone cold when it’s time to grill. 2) I don’t salt it until I turn the burners on the grill. The salt draws out the juices and you don’t want to lose any of the flavorful juices! 3) I clean off my grill with a wired grill brush before I turn on the grill. 4) I make sure the grill is on & hot and heated up to about 450 before I throw my steaks on the barbie!
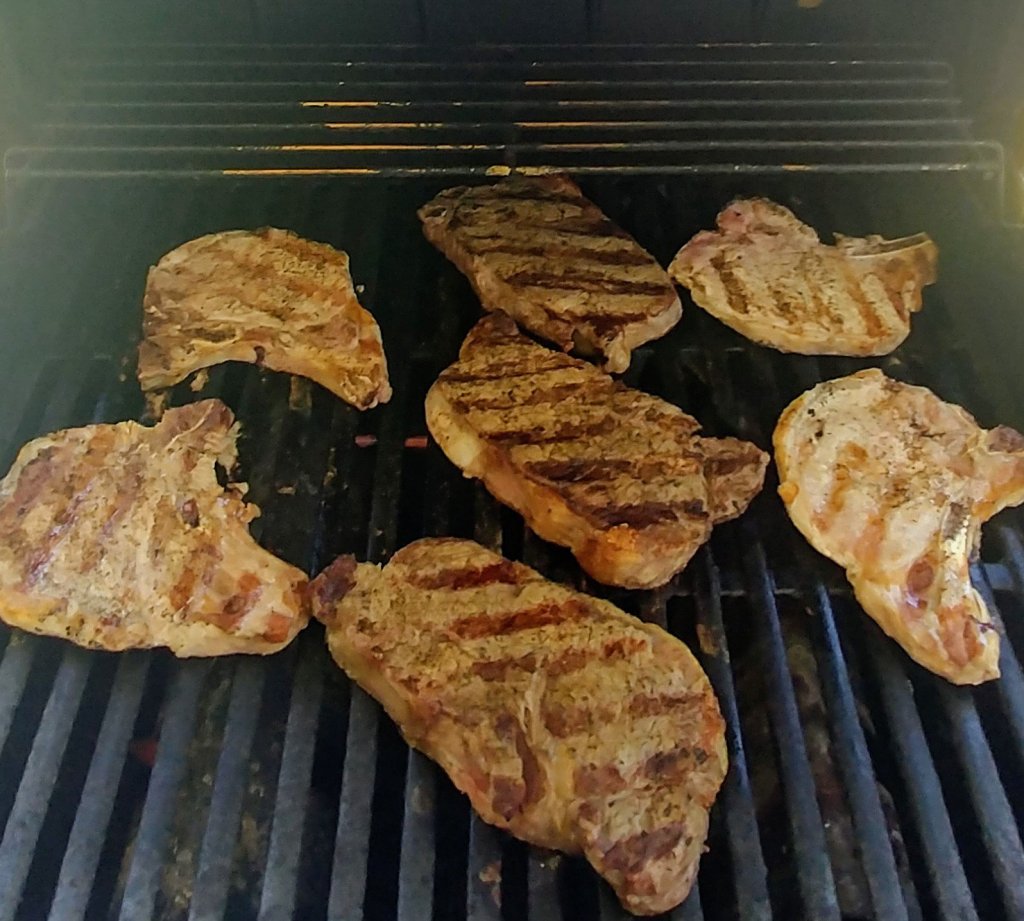
I only turn my steaks once per side but I rotate each side twice. I do this after 2 minutes per side and rotation. Remember, I like my steaks medium. If you like it more well done, your turning and rotation time will be a minute or two longer.
Those grill marks just make the steak tastier to the eye! I found this great graphic to illustrate the internal temperatures for your preferred doneness of your steak! Credit : https://www.fix.com/blog/how-to-grill-steak/
I found this handy information on the Weber website regarding the USDA recommended internal cooking temperatures….
Beef, Pork, Veal, Lamb – steaks, chops and roasts – 145° F
Ground Meats – 160°F
Ham – fresh or smoked (uncooked) Reheat cooked hams packaged in USDA-inspected plants to 140 °F and all others to 165 °F
All Poultry – breasts, whole bird, legs, thighs, and wings, ground poultry, and stuffing – 165°F
Fish & Shellfish – 145°F
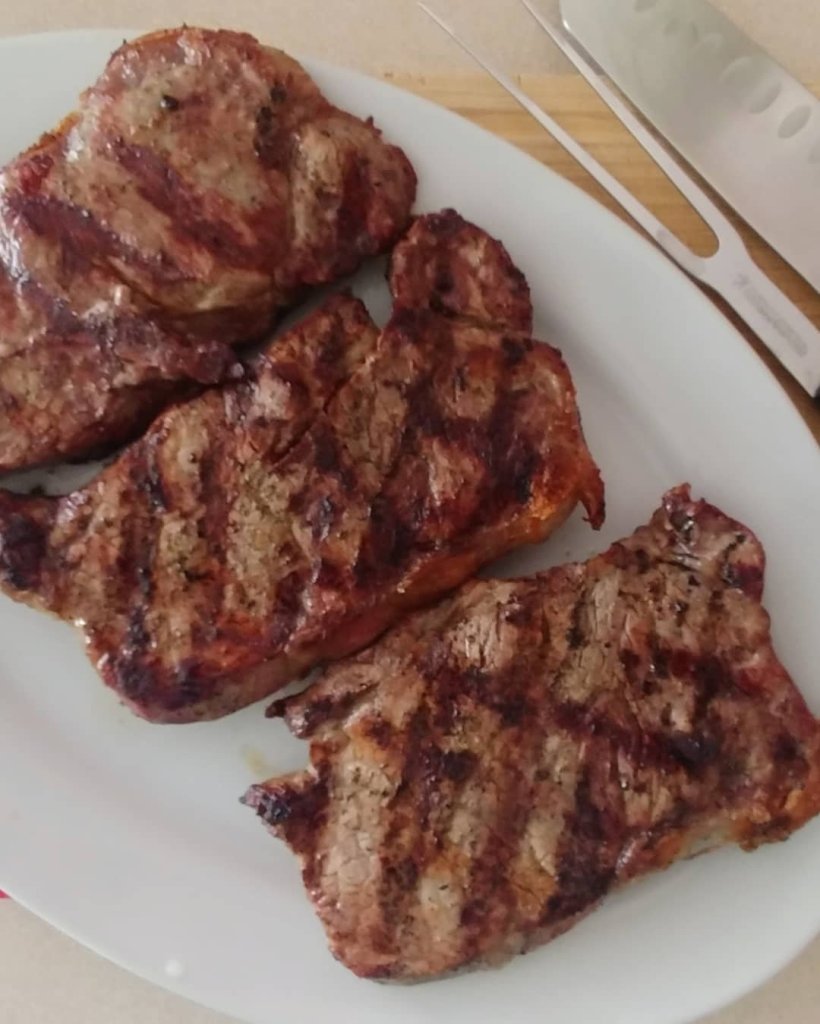
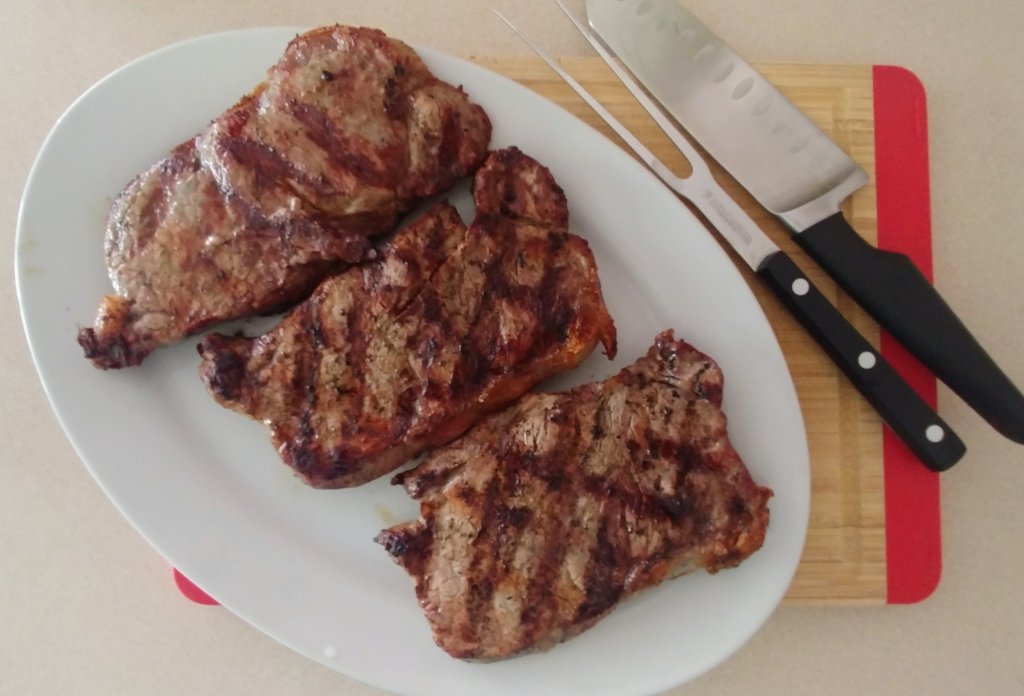
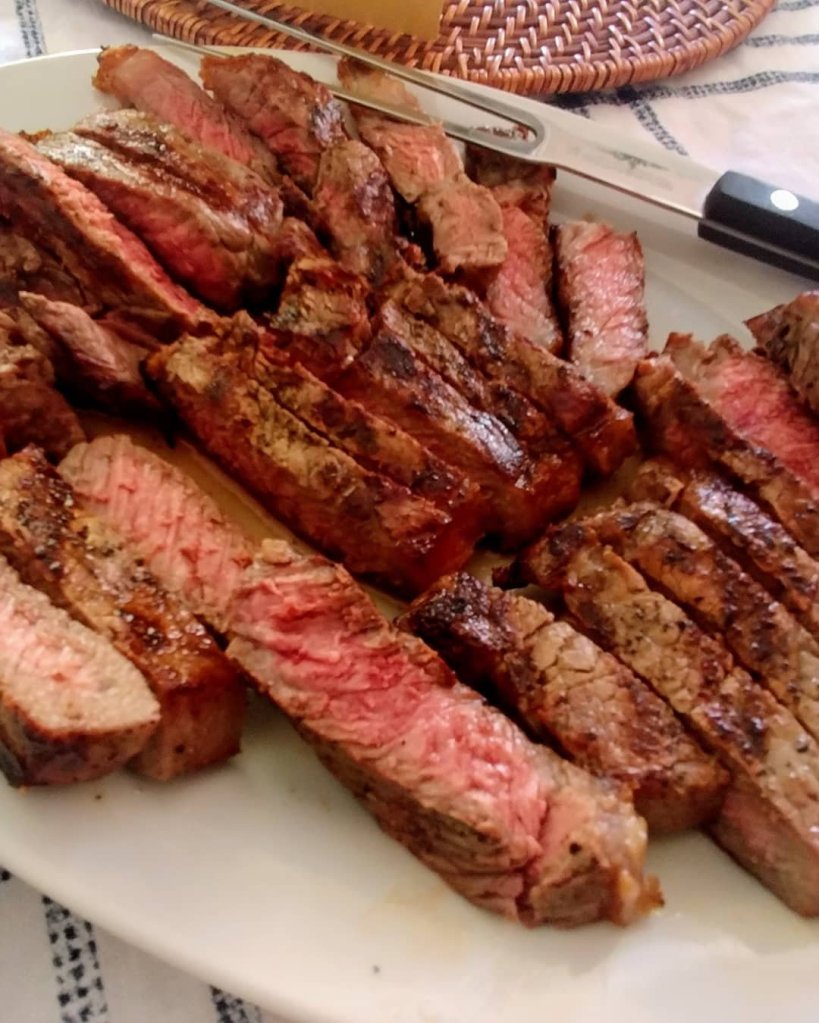
I cook our steaks to an internal temperature of 145, for medium. I remove it from the grill and let it rest on a platter for about 5-10 minutes. I don’t “rest” my meat on the cutting board because I want to collect all of the natural juices on the serving platter to enjoy when I eat it! Nothing beats the natural juices to dip your steak in!
Occasionally, I cut my steaks on a biased and serve it that way. It makes it easier for my son that doesn’t like his meat as pink as we do to grab those more well done slices. And I think it’s visually more appealing to see the meat displayed this way.
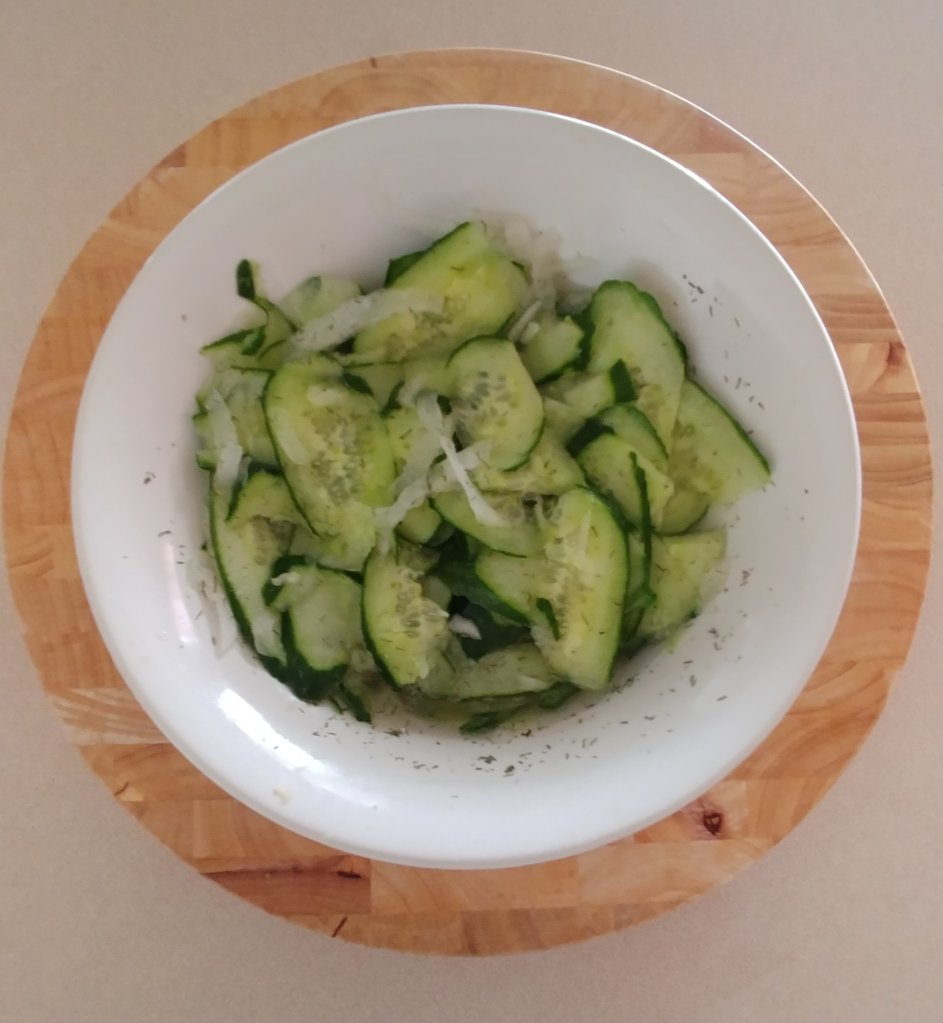
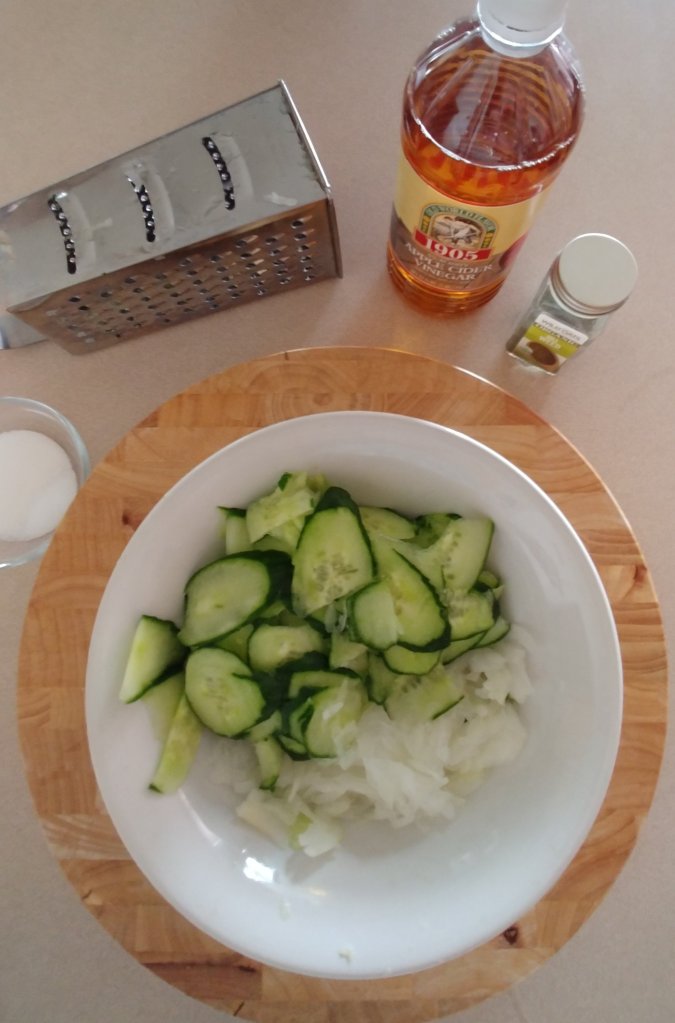
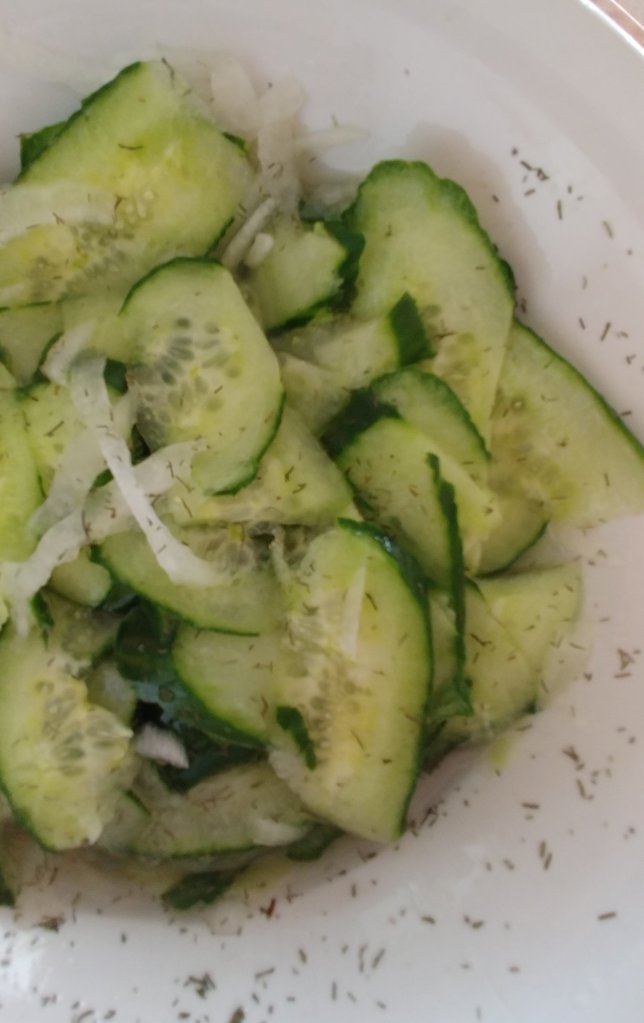
Icy cold, refreshing and palate pleasing… Cucumber salad is a traditional southern salad that is super popular and a guaranteed crowd pleaser at BBQs, cookouts, potlucks and picnics!
This crisp, cool salad is a great make ahead side dish since the cucumbers get better as they marinate in the apple cider vinegar dressing and onions. As with any cold salad that’s vinegar or mayonnaise based, the flavors bloom after several hours in the refrigerator. So it’s not only convienient to make ahead but it’s actually better for the full flavor profile!
CUCUMBER SALAD
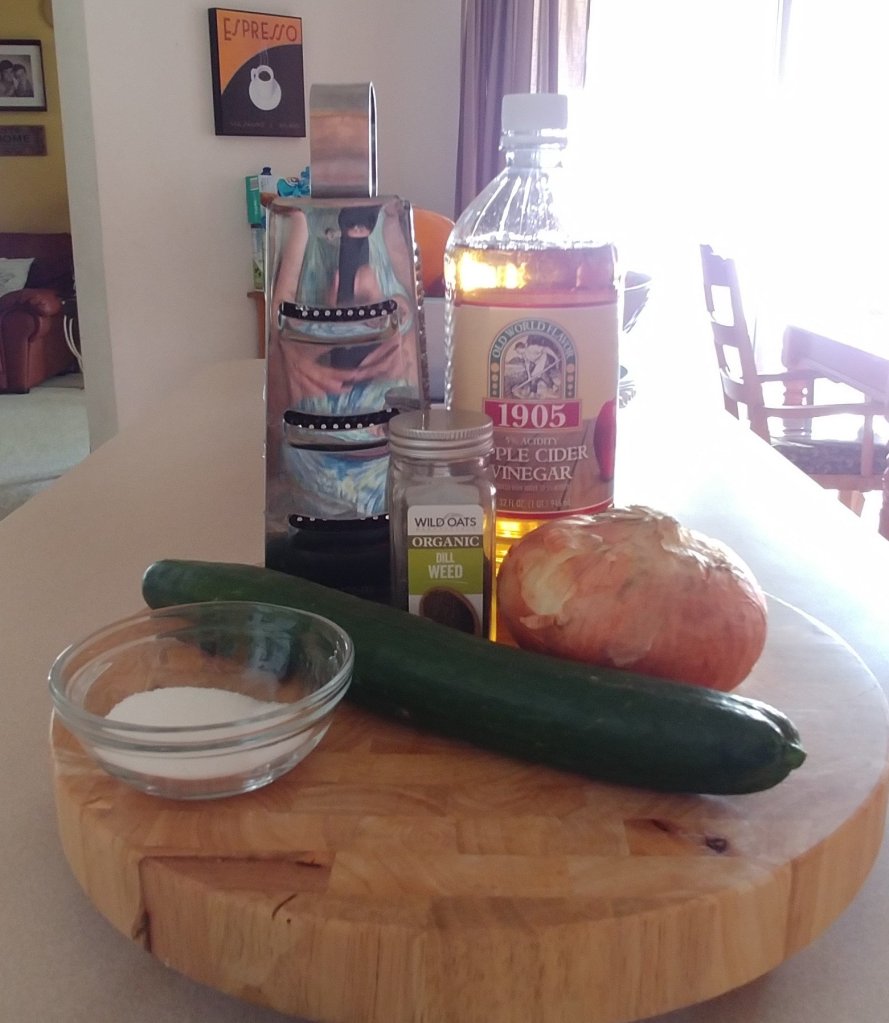
INGREDIENTS :
1 English cucumbers or hot house cucumber, sliced thin
1/2 tbsp salt
1/4 c apple cider vinegar
3 tbsp water
1 tbsp sugar
1/2 tsp dill weed or fresh dill
1/4 sweet white onion, sliced thin
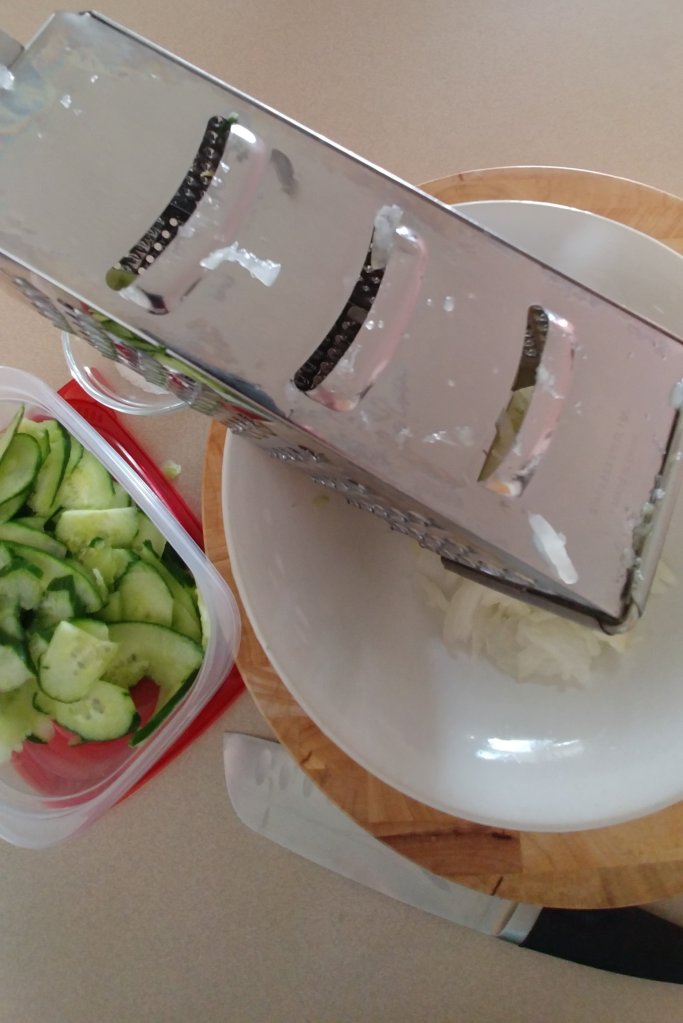
INSTRUCTIONS :
Using a manual box style grater, slice the cucumber using the slicing side, into a bowl.
Combine vinegar, water, salt, sugar and dill in a mixing bowl.
Using the same side of the box grater, slice the onions and add to the cucumbers.
Mix the vinegar dressing in with the cucumbers and onion. Toss to coat thoroughly.
If you live in Florida like me, it most likely feels like summer has been around for the last couple of months! Or if you’re a traditionalist and grew up in the Northern states, summer starts Memorial Day weekend. Technically summer doesn’t start until this Saturday June 20th, per the calendar! Anyway you slice it, it’s BBQ/ grilling season!
In honor of barbecue season, I have a few tips and tricks that I’d like to share with you but stay tuned…. I’ll have some fun stuff I’ll be sharing leading up to the July 4th holiday!
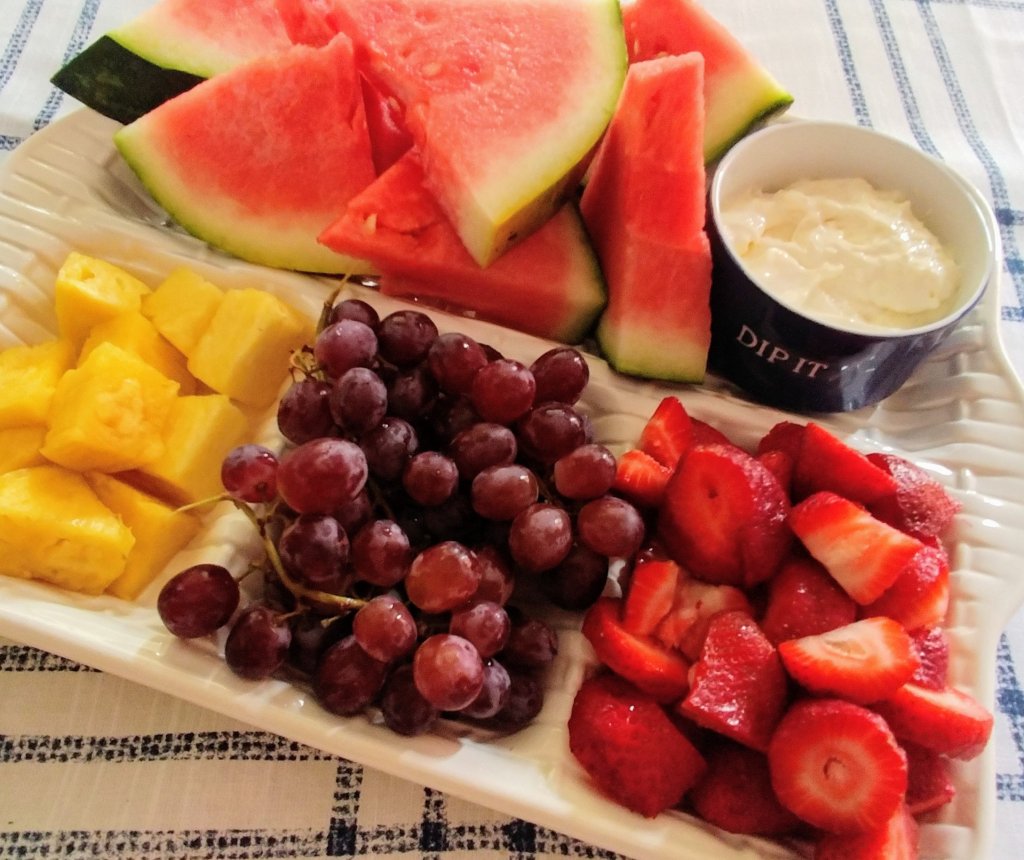
I serve ice cold watermelon with my homemade fruit dip (simple to make : a brick of Philadelphia cream cheese and a jar of marshmallow fluff blended together) and whatever other fresh fruit I happen to get in my produce co-op basket that week!
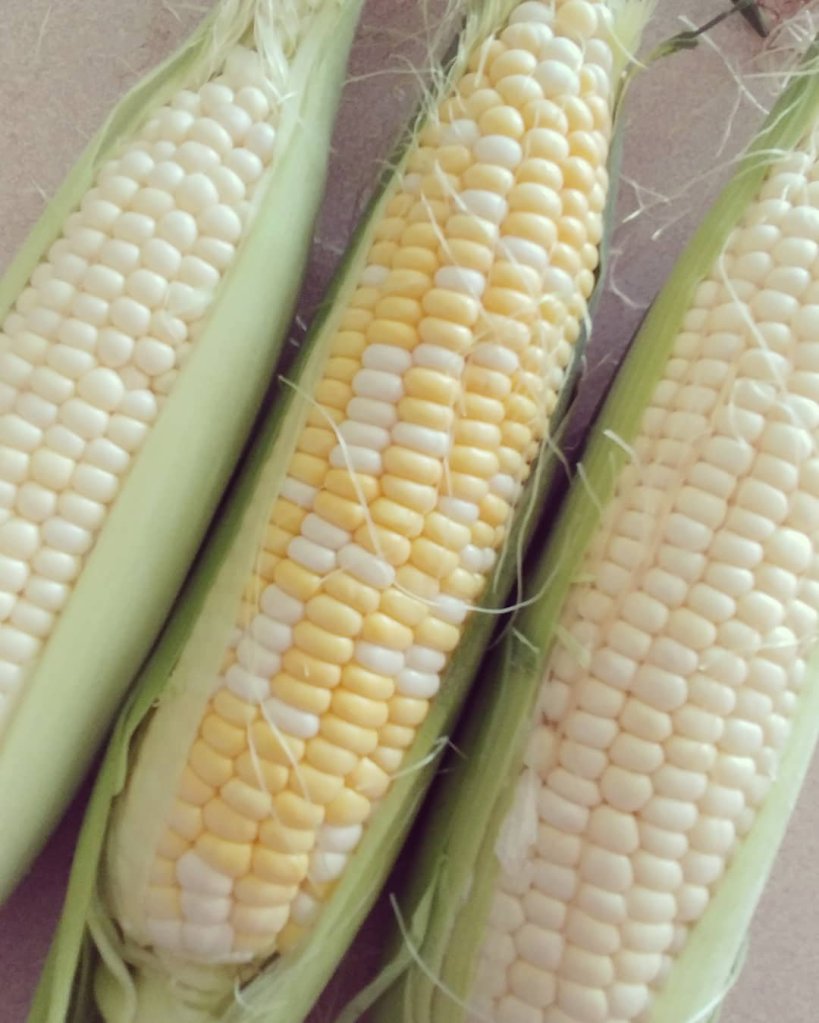
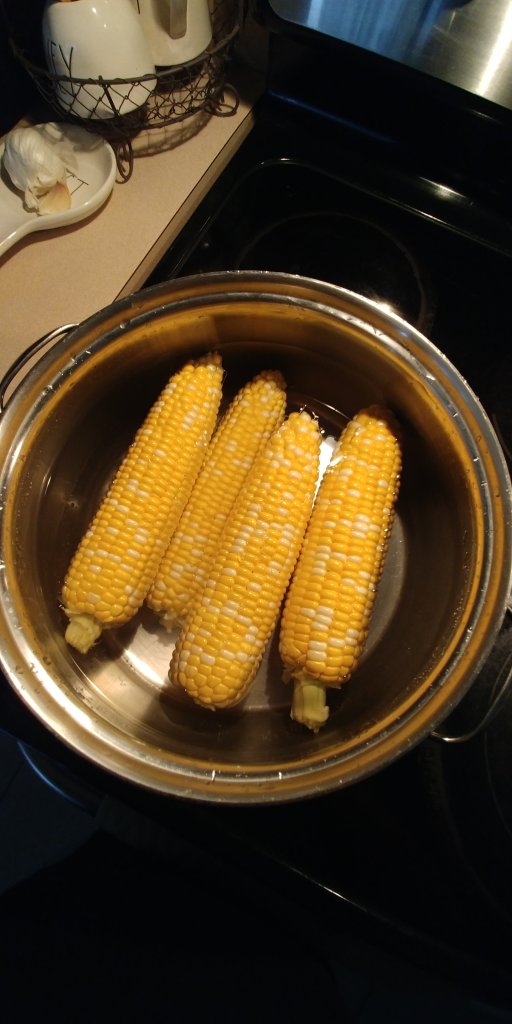
Watermelon and fresh corn on the cob are our families barbecue staples. Whether I serve it to my family of 5 or we have guests over that will be grilling for, I always make sure to serve icy cold watermelon wedges and buttery corn on the cob!
The way I prepare my fresh corn on the cob is by first husking the cob and making sure to remove all of the silk. I then proceed to put all of the (whole ears) corn into a large pot of tap water and add 2 tablespoons of sugar and 2 tablespoons of salt too. I boil it, covered, for about an hour. I serve hot with plenty of a salted butter!
I also serve my husband’s spicy baked beans. Not only are they delicious but I actually don’t have to make them. It’s one of the few things I enlist him to help with in the kitchen. He’s a great helper and cook, I’m just a control freak so I’m usually the one that does most of the cooking! I’m also a fan of serving pasta salad at my BBQs, so easy to make ahead! I love making pasta salad the day before so all of the flavors macerate together in the refrigerator. I’m happily sharing the recipe as my mom taught it to me but have no current photos (so out of character for me, I know!)
Rachel’s Pasta Salad
Ingredients :
1 lb box rotini pasta, cooked per package directions
1 cup Wish Bone Zesty Robust Italian dressing
pepperoni or salami, chopped into bit sized pieces
provolone cheese or other cheese, chopped into bit sized pieces
sliced black olives
bell peppers, cucumber and tomatoes and other fresh veggies to your preference, chopped into bit sized pieces
shredded parmesan cheese
Directions :
Cook your pasta per the package directions. Drain in a colander but do not run water over it, you want the starches to remain on the pasta so that the dressing adheres to it. Add all of your chopped and diced veggies, cheeses and meats; toss to coat thoroughly. Refrigerated overnight to maximize the Italian seasoning flavors!
Come back over the weekend and well discuss this topic further!